 | IMPORTANT! Zebra suggests using the Common Unix Printing System (CUPS) driver for use on Unix, i.e. macOS and Linux operating systems. The CUPS driver is pre-installed on macOS operating systems (and so on most of Linux distributions). Therefore, it is not necessary to download and install a driver for Zebra printers on macOS.
Zebra macOS X drivers are available for selected Zebra Card Printer models. Read this article to learn more. |
The CUPS driver is directly built-in on the macOS and some Linux distributions.
 | NOTE Enter either http://localhost:631/ or 127.0.0.1:631/ to access the CUPS driver, with your Internet browser.
The following examples are based on the 2.4.10 version of the CUPS driver.
|
Procedure:
- Click the Administration tab on the right.
You might be asked to type some login credentials; please type your PC login credentials to authorize. on macOS, saving admin credentials depends on each browser and end user's decision to do so. If you do not have a password on your PC, CUPS will not work.
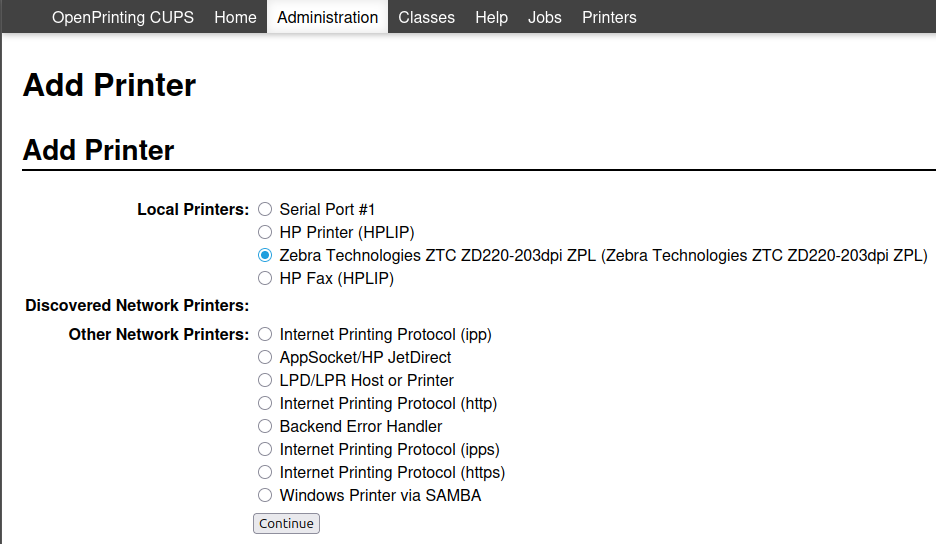
- Select Add Printer (Classes are just a way of grouping similar printers if a customer chooses to).
- In some cases, you will see this error displaying when tyring to access to the Adminstration.
Web Interface is Disabled
The web interface is currently disabled. Run "cupsctl WebInterface=yes" to enable it.
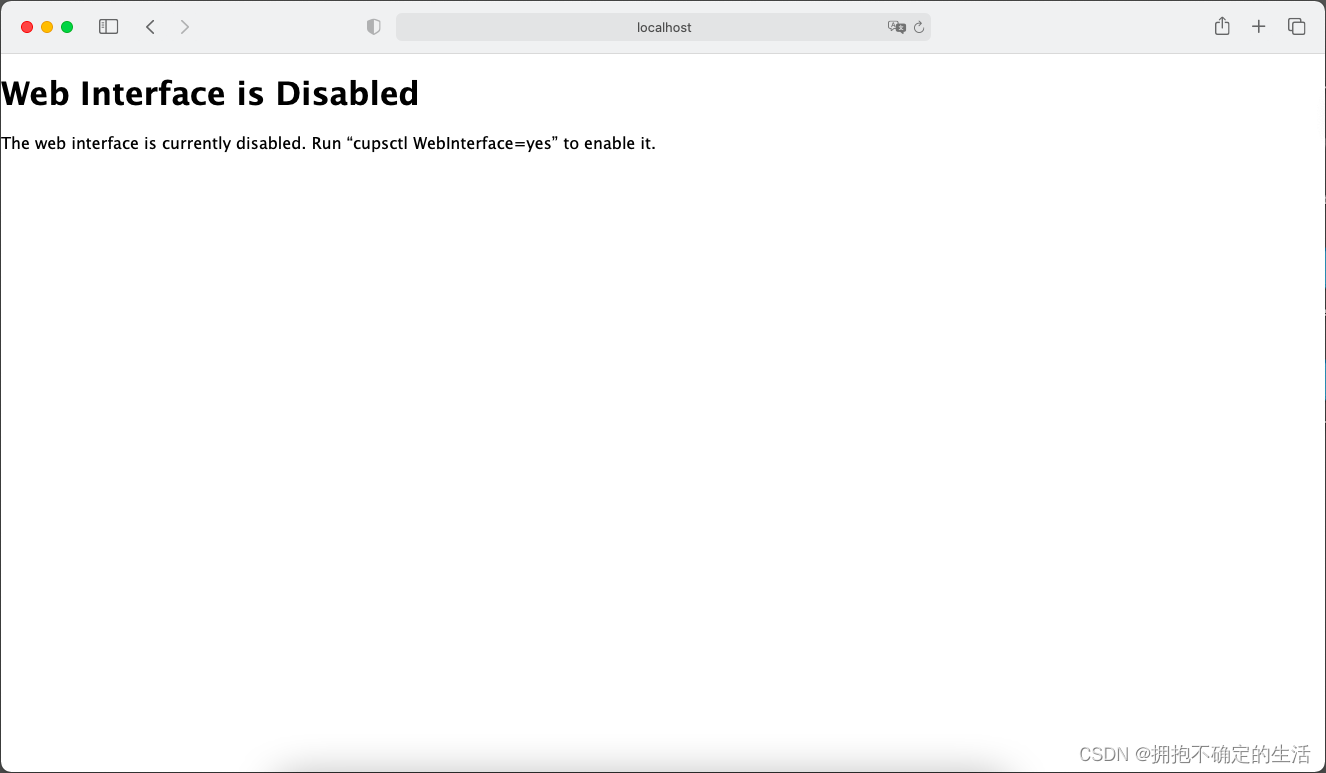
- To resolve this, please run the command cupsctl WebInterface=yes on Terminal by typing it and then pressing Enter.

Network Connected Printer
| NOTE Zebra Print Servers do not support HTTP or IPP printing. |
- After you click Add Printer, then select AppSocket/HP JetDirect.
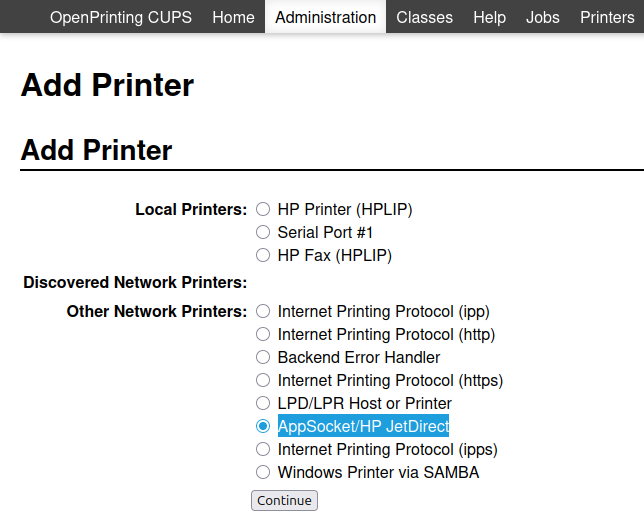
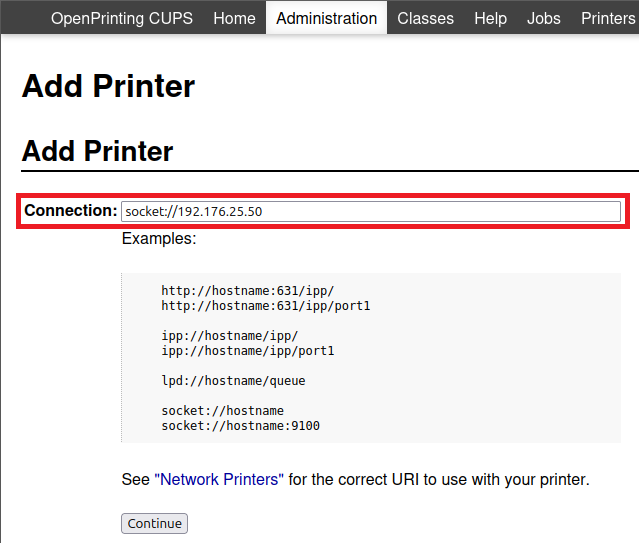
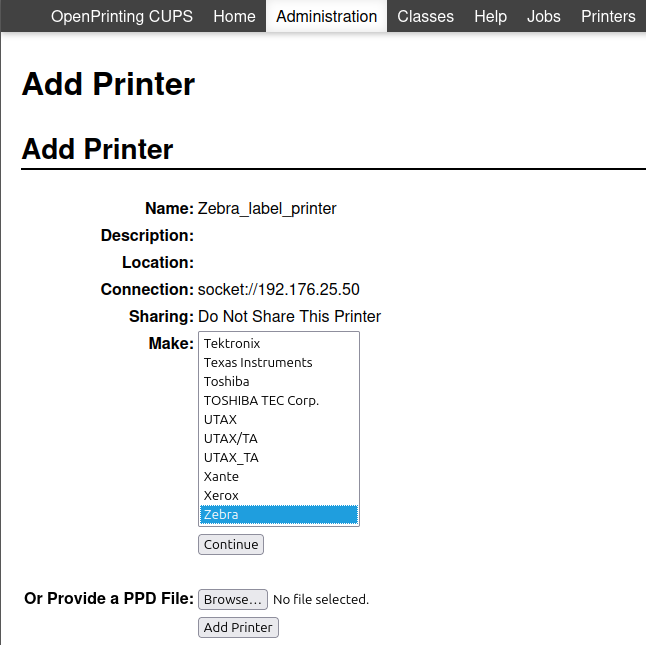
- Then type the printer's IP address on Connection using the prefix socket://.
USB connected printer
- USB printers are in most case scenarios installed automatically by the CUPS driver, so, please take a look at your printer on the Printers button.

- If the printer is by chance not installed, then go to Administration > Add Printer and you should be able to find the printer over there.
Serial and parallel connection notes
Serial and Parallel are possible connections for Linux supported OS that can be made available as the printers are connected.
A Linux Admin could send the following commands to create the ports:
- To enable the serial port in Linux: Chmod a+rw /dev/ttyS0
- To enable the parallel port in Linux: Chmod a+rw /dev/lp0 or /dev/lp1
| NOTE Providing a PPD File is only used for instances when a Make: (the field that you need to select above) is not available, the manufacturer has provided a PPD file to you to populate manually. Assistance for Zebra printers from Zebra is not available for PPD files, only available when the available Zebra option is selected. |
How to finish
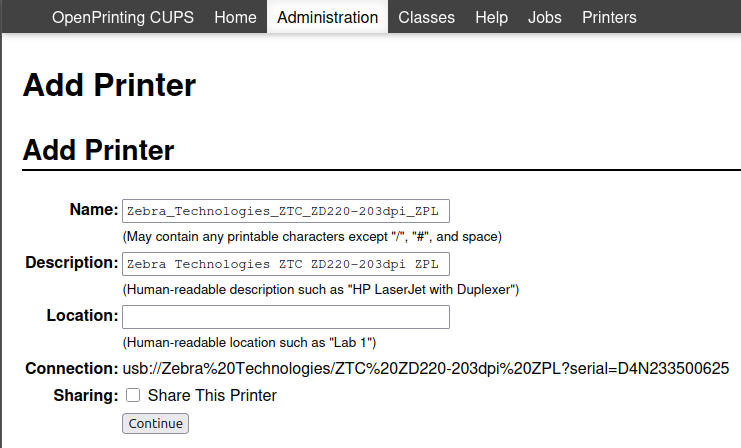
- Select the printer (either network, USB, serial or parallel), assign a name to the device. Sharing the printer is optional, but disabled by default.
- Click Continue.
- If you can see this window (specially when adding network printers), become sure to select Zebra in the Make section.
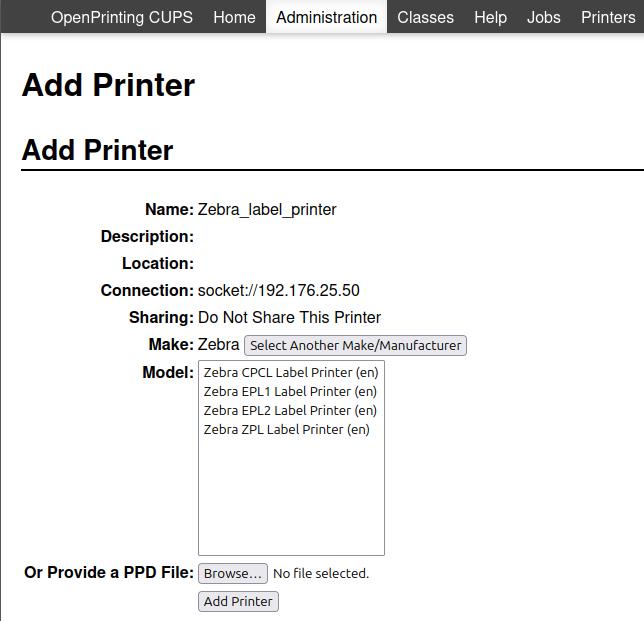
- At this point, you need to select the printer's main programming language to use > then click Add Printer.
- CPCL is the main language used among mobile printers. However, some mobile printers already use ZPL.
- EPL1 and EPL2 are used among desktop printers, but not as popular as ZPL.
- ZPL is the primary programming language among Zebra printers. In case of doubt to select, this one is the best option.
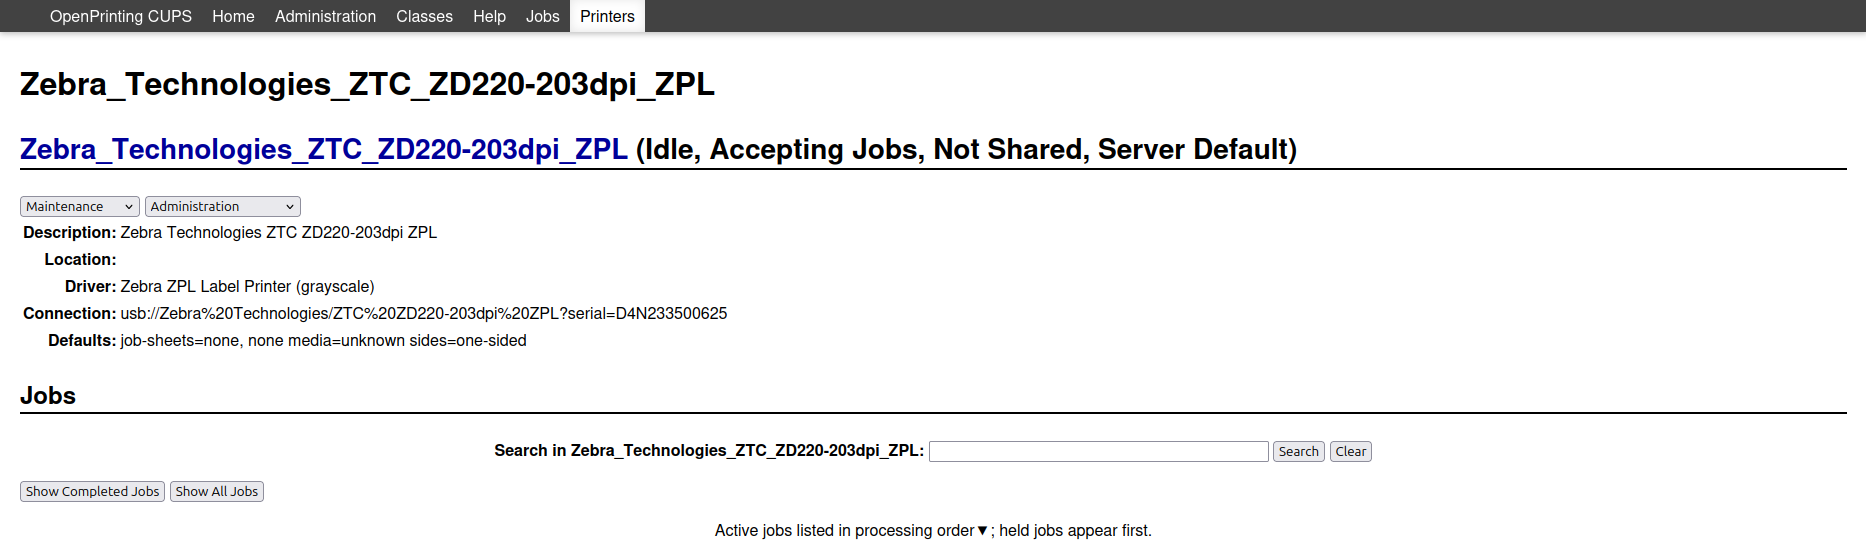
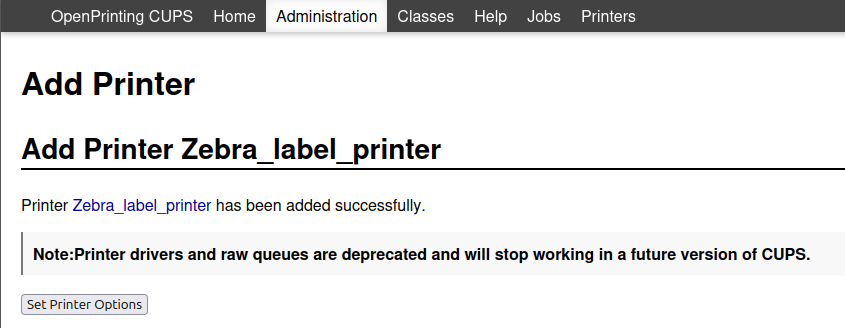
- Once done, you will be adviced that the printer has been installed successfully.
Helpful Information

