 | NOTE This procedure does not apply when using the ZebraNet external 10/100 Print Server on the ZT200, ZT400, or other Link-OS compatible printers. |
Troubleshooting Guide: Zebra Printer Setup
 | IMPORTANT! Ensure your device allows a wired or wireless connection. |
Requirements:
Overview:
- Use Zebra Setup Utilities network setup wizard for wired or wireless configuration, requiring appropriate print server options.
Procedure:
-
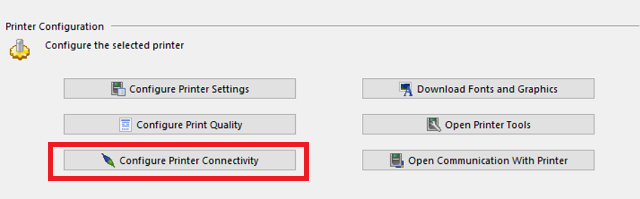
Open Zebra Setup Utilities and select Configure Printer Connectivity.
-
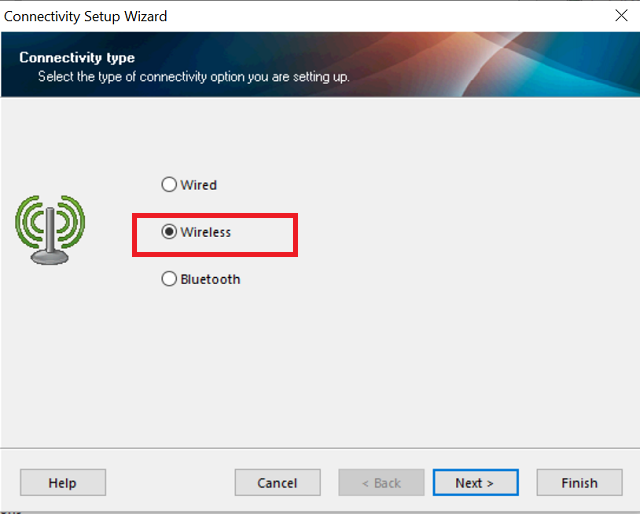
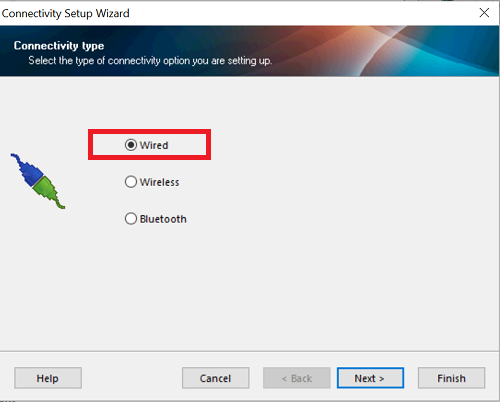
Choose Wired or Wireless setup.
-
Proceed with network settings detail input.
-
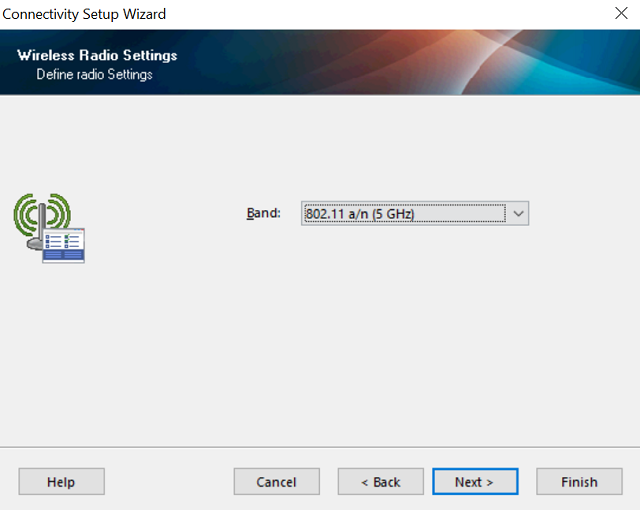
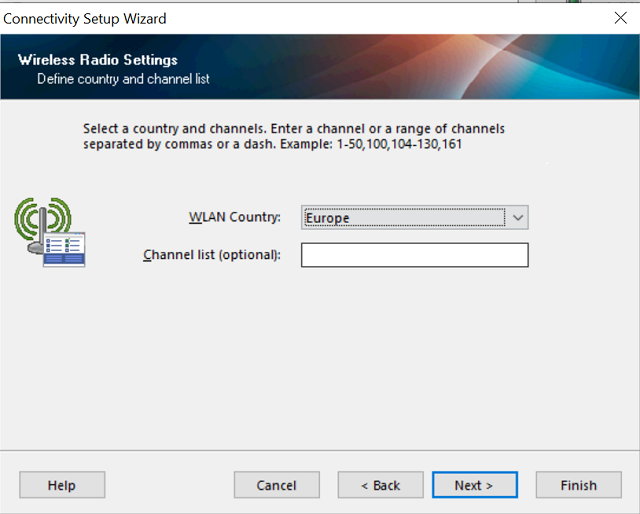
Select Band and Country.
-
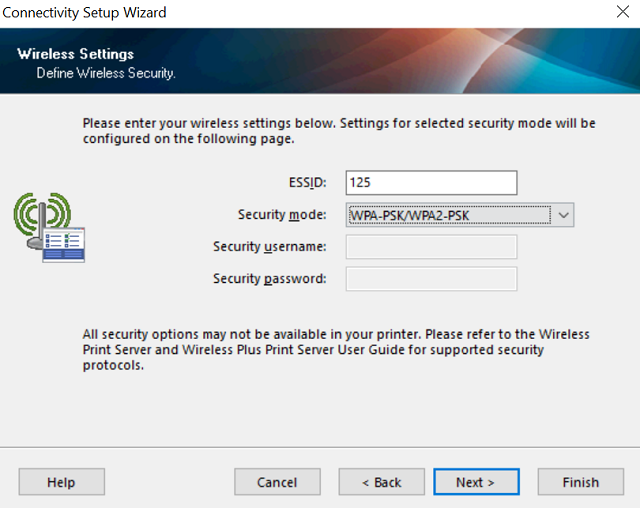
Enter ESSID and select network security.
-
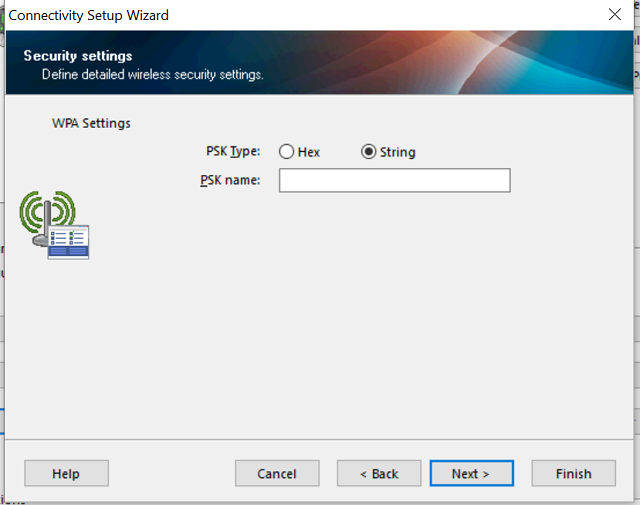
Input WLAN password. Select String if it contains letters and numbers and it is not hexadecimal form.
-
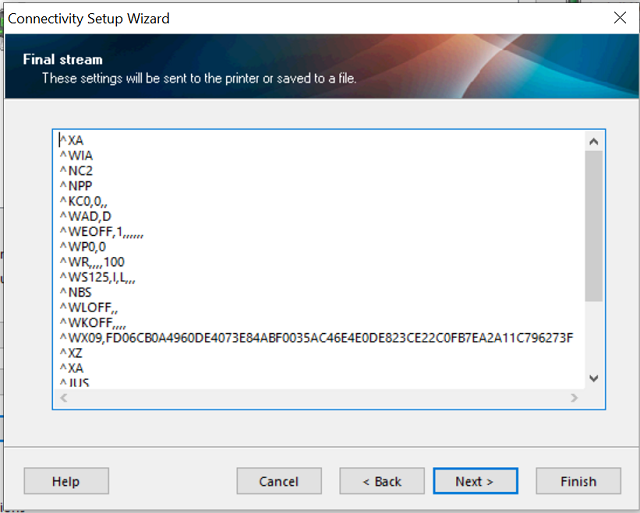
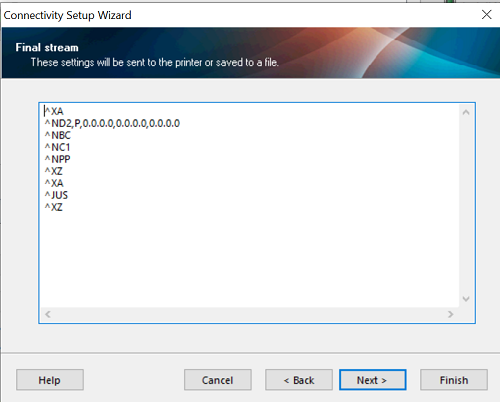
Finish setup; settings are sent to the printer.
Power cycle printer for settings to take effect.
| IMPORTANT! Turn the printer off and then on again for the new settings to take effect.
Link-OS printers do not have to be power cycled. The script generated by the ZSU sends a soft reset command. |
| NOTE You can also highlight and copy the ZPL settings from the screen above and save them in a text file for use later. |
Wired Setup Instructions:
-
Choose Wired setup and proceed.
-
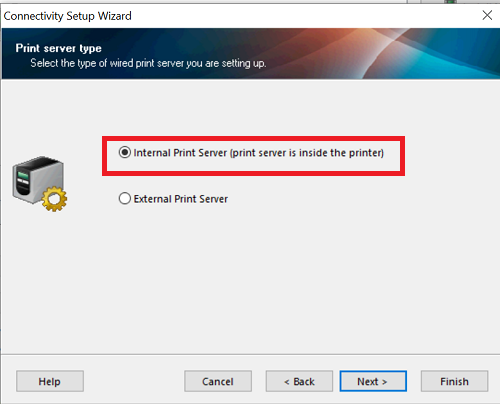
Select Internal Printserver.
-
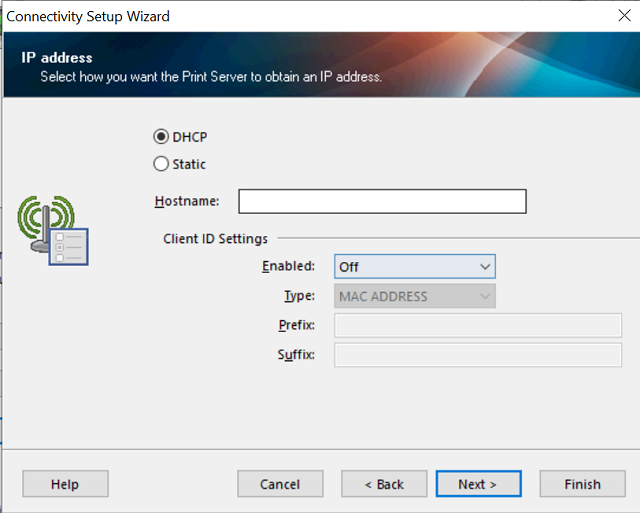
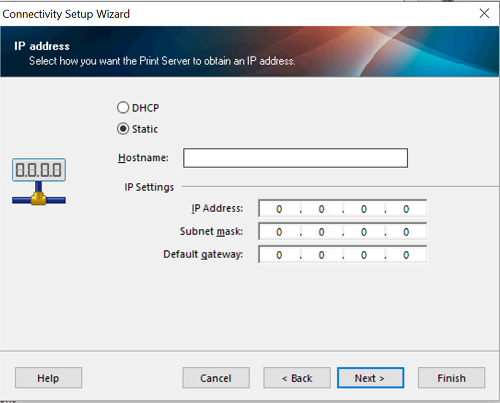
Choose IP address, DHCP, or Static and fill in required fields.
-
Finish setup; settings are sent to the printer.
- Power cycle printer for settings to take effect.
To get the printer's IP address, send the below commands to the printer using Zebra Setup Utilities: Open Communication with the printer.
The command depends on the type of connection that you configure.
Wireless IP Address
! U1 getvar "wlan.ip.addr"
Wired IP Address
! U1 getvar "interface.network.active.ip_addr"
Kindly see the below sample for the Wired connection.

If you will need to order an upgrade kit for network connectivity, please ask your nearest Zebra Partner. Refer to the article Locating a Zebra Partner.
Helpful Information:

