Excludes: ZQ110, EM220, EM220II
1. Install the printer on your PC using a local connection.
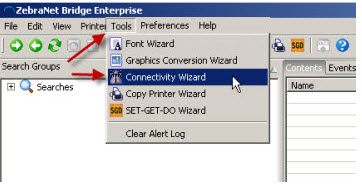
2. Open ZebraNet Bridge, go to Tools, and select Connectivity Wizard:
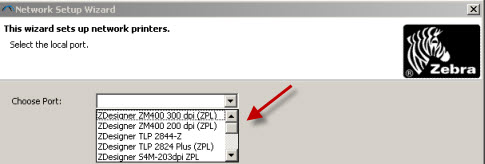
3. Select the printer you want to configure from the drop-down list. The wizard will only let you choose the locally installed printers.
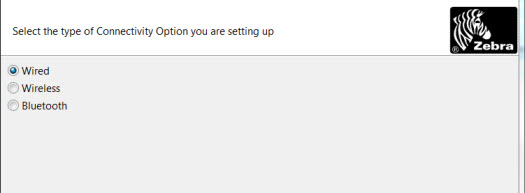
4. Select the Type of Connectivity Option:
5. Select the printer type you are configuring:

6a. Bluetooth: Set the Friendly Name, PIN Number, and Authentication details click next to observe the Printer Configuration Output in Step 9.
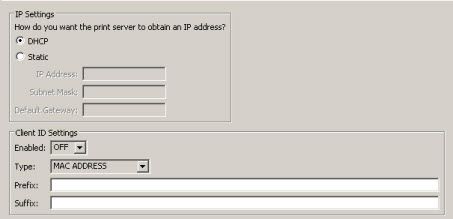
6b. Wireless: Set the IP address scheme DHCP or Static. You can also set a Client ID if required. The choices are MAC address, User Defined ASCII, or HEX:
7. Next you can set your network's ESSID and choose the wireless 802.11 security:
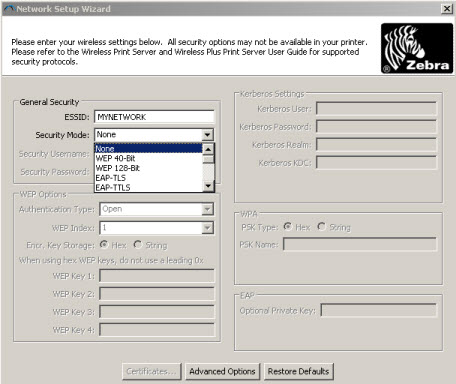
 | NOTE The 802.11 security you printer can support will depend on the option board and firmware level on the printer. |
8. On the Advanced Wireless Settings tab you can change the Operating Mode: Infrastructure or Ad-Hoc. It is important that the other settings only be changed by an experienced network engineer or on a recommendation from Zebra Technical Support.
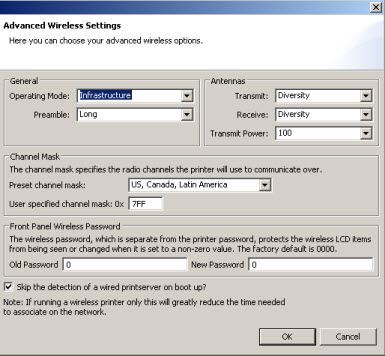
 | NOTE Leave Skip the detection of a wired printserver on boot up? checked unless you want a wired print server to be the primary device on bootup of the printer. |
9. Printer Output
On the last screen, you can view the ZPL code being sent to the printer. Click Finish to send settings to the printer. You will need to power cycle the printer for the ZebraNet Wireless option to connect to your WLAN.
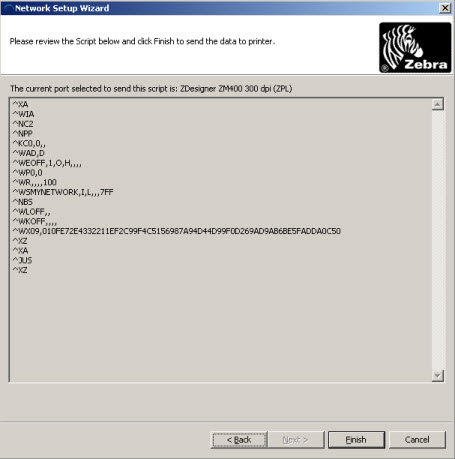
 | NOTE You can highlight and copy/paste the setting to a file to save for later reference. |


