To print a file containing ZPL commands (regardless of its file extension, such as .txt, .zpl, .prn), you can use the Generic Text Printer Driver provided by Windows.
After installing the printer with the Windows driver, follow these steps to set up a second instance of the same printer on the same port as the standard printer.
Procedure:Check which port your computer is using to communicate with the printer:
- Open the Windows > Control Panel > Devices and Printers.
- Right-click on the required printer.
- Select the Ports tab and check for the selected port.
Proceed with the installation of the second instance of the printer by using the
Generic Text Driver.
- Open the Printer Properties window and click Add a printer.
- Click The printer that I want is not listed.
- Select the Add a local printer or a network printer with manual settings option, then click Next.
- Select the Use an existing port option and select the same port where the printer is already installed from the drop-down menu. Click Next.
- Select Generic as the Manufacturer and Generic / Text Only under Printers. Click Next.
- Select Use the driver that is currently installed (recommended) option and click Next.
- Optionally, you can change the printer’s name if needed and click Next.
- Select either to share or not to share the printer and click Next.
- Now you have successfully added the printer of your choice. Click Finish to complete the installation.
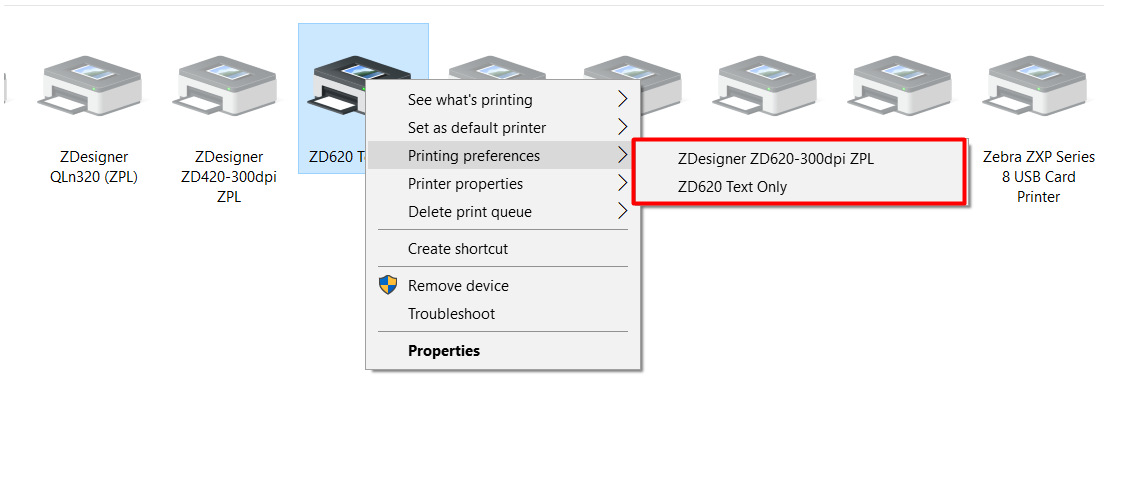
In the screenshot below, now there are 2 printers installed on the same computer port. The first one in the screenshot uses the standard driver that will work as usual with applications such as the ZebraDesigner, while the second one will print the ZPL files from a text editor.

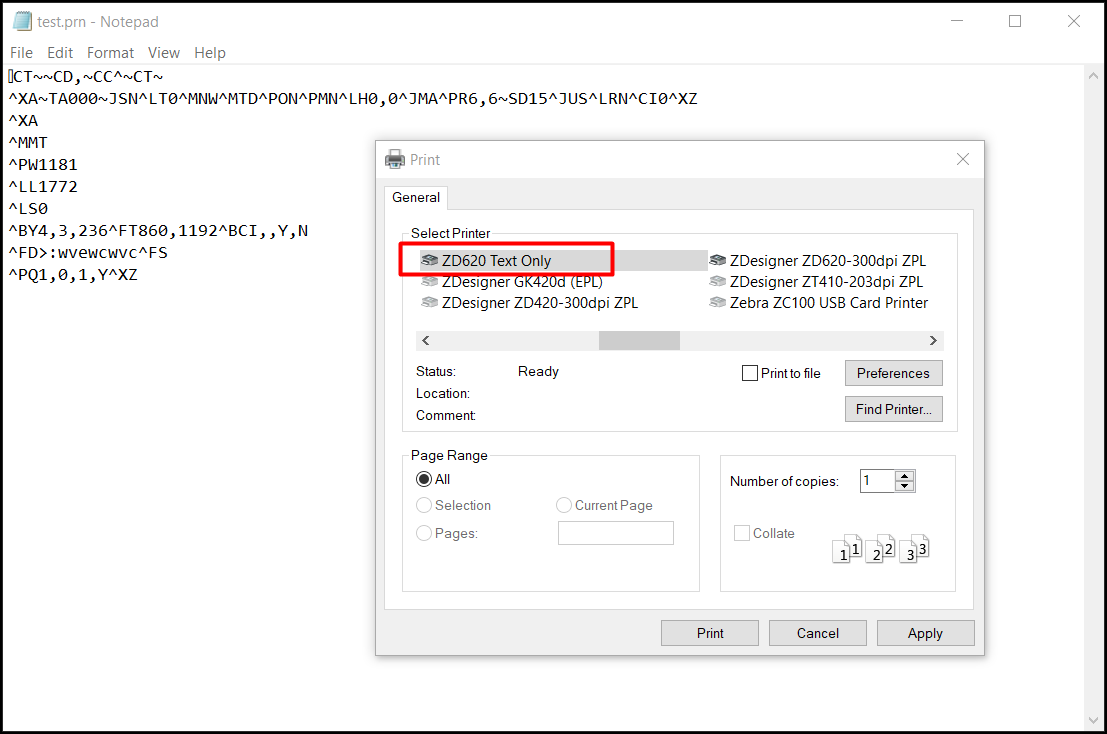
Now you can open the file with a
Text editor and select the
printer that you have just installed.
 Helpful Information:


