The allcv command contains all available settings configured on a printer. These can be useful for troubleshooting or recording existing values.
How to retrieve the "allcv" report on Zebra Setup Utilities
- Launch the Zebra Printer Setup Utilities.
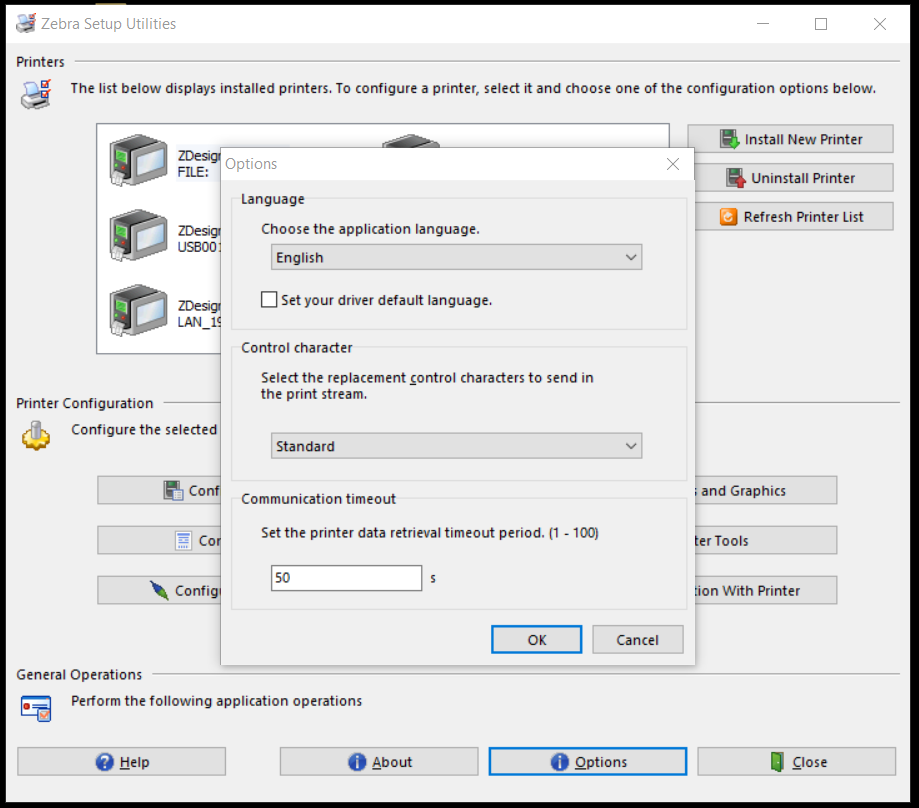
- Click the Options button.
- In the Communication timeout section, increase the timeout interval to a value larger than 30 and click OK. The timeout can then be lowered to the default value of 5, once this procedure has been completed.
- Click Open communication with printer and copy the following command.
! U1 getvar "allcv"
 | NOTE The command must be followed by pressing Enter using the keyboard, otherwise the process will not work. |
- Click Send to printer.
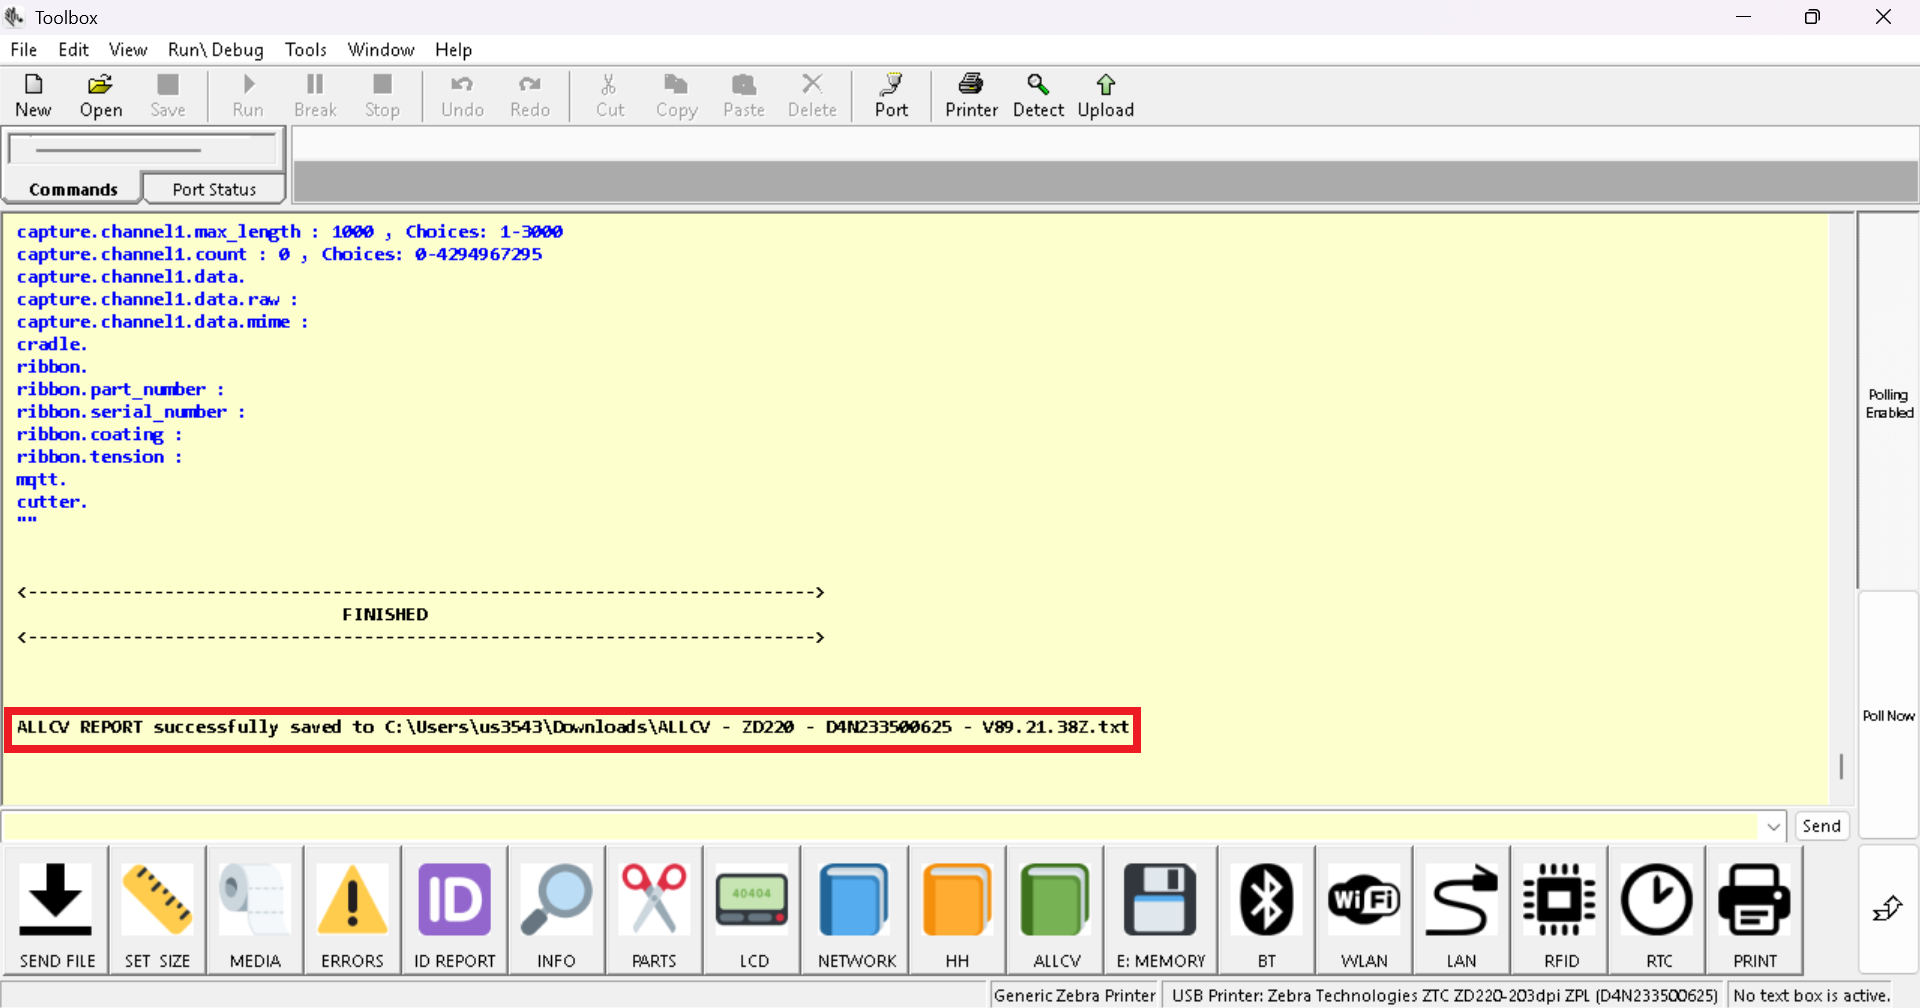
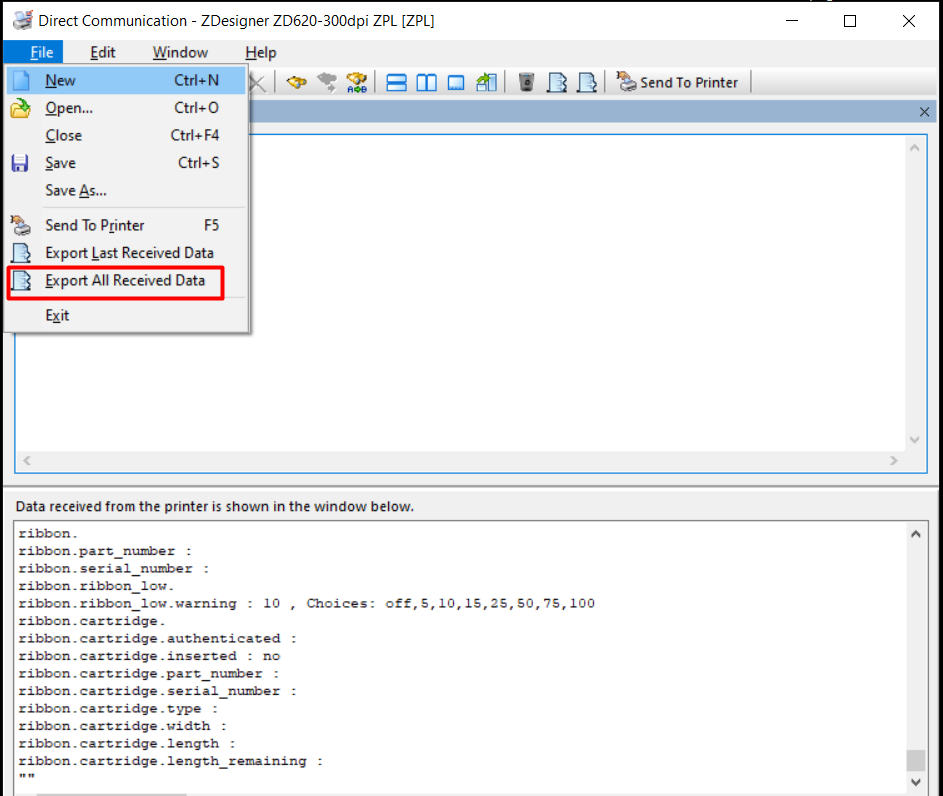
From the bottom window, the data will be displayed. The allcv report is usually finalized by the (" ") symbols.
- To export the data, click on File and click Export all received data and Save the file accordingly.
How to retrieve the "allcv" report on Toolbox and its profile.
- Ensure the printer is connected either via USB or network, something you can verify on the Port button above (often displaying via USB as ZTC Zebra...); if the printer is connected via network, then you will have to click Network device and type the printer's IP address and port. The printer does not necessarily need to be installed with any drivers.
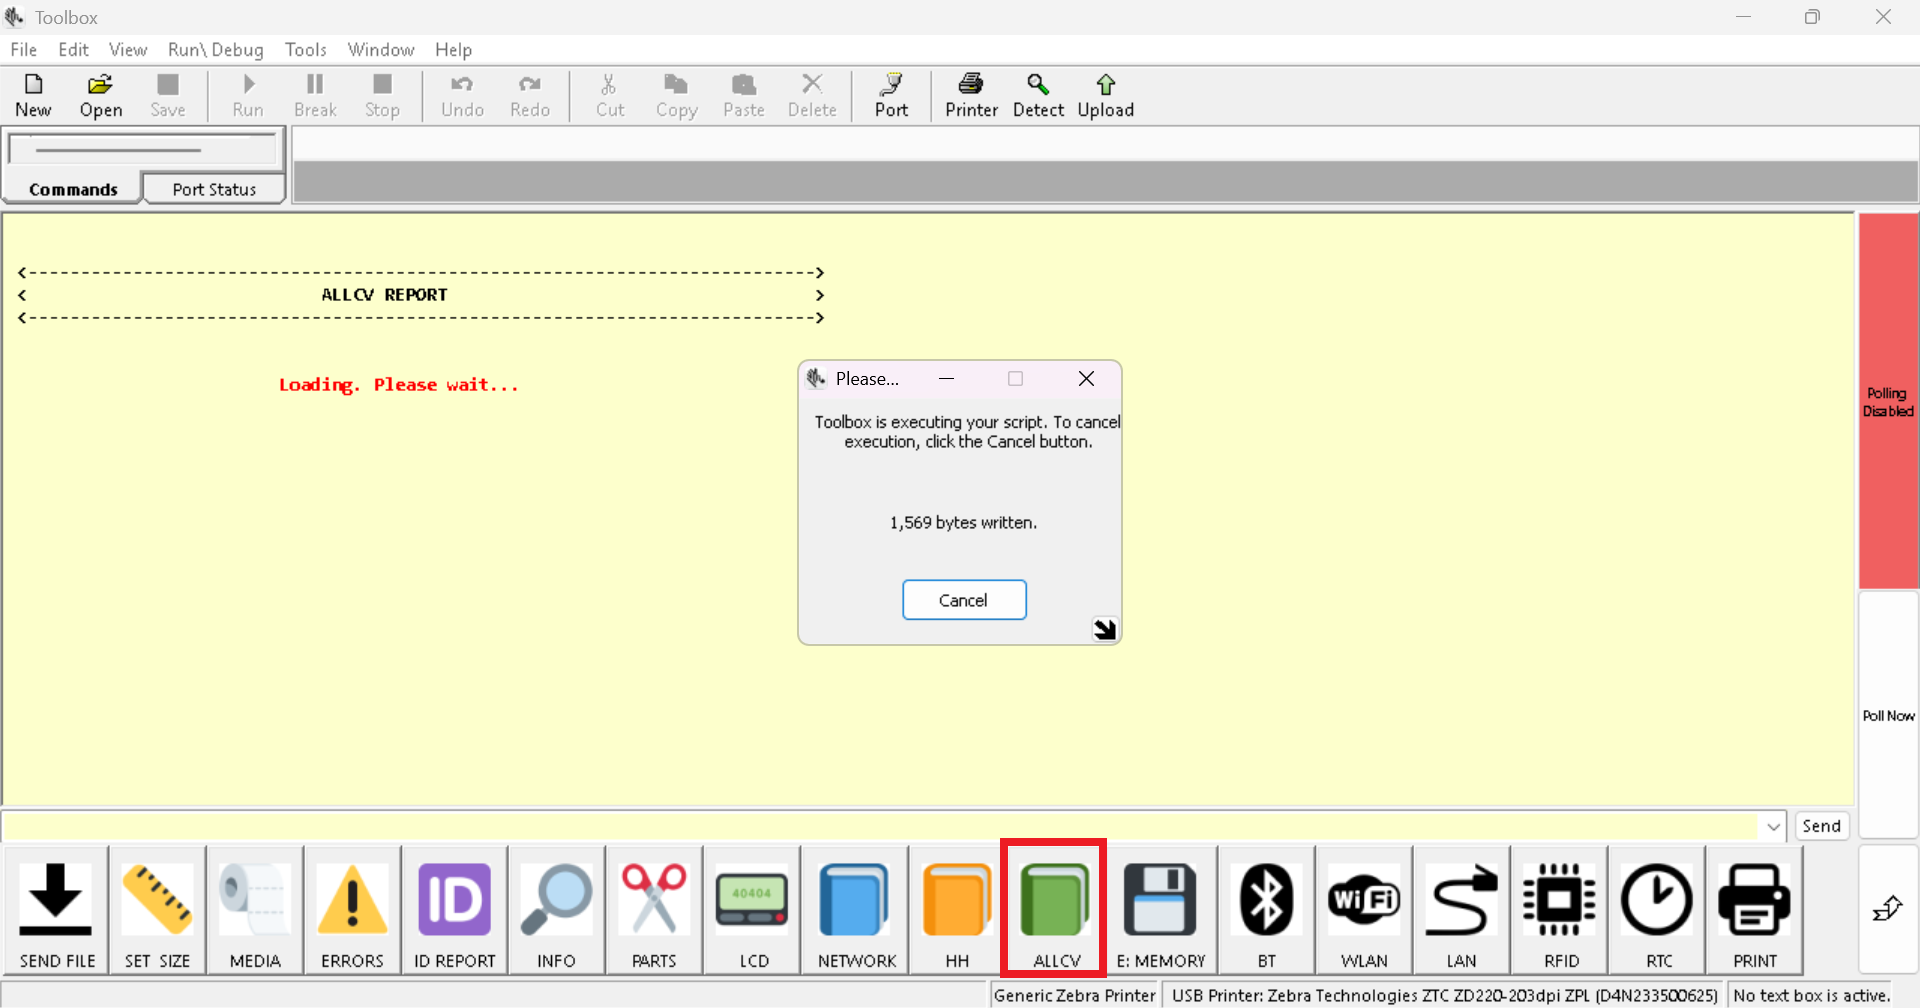
- Click the ALLCV icon (the green book on the bottom).
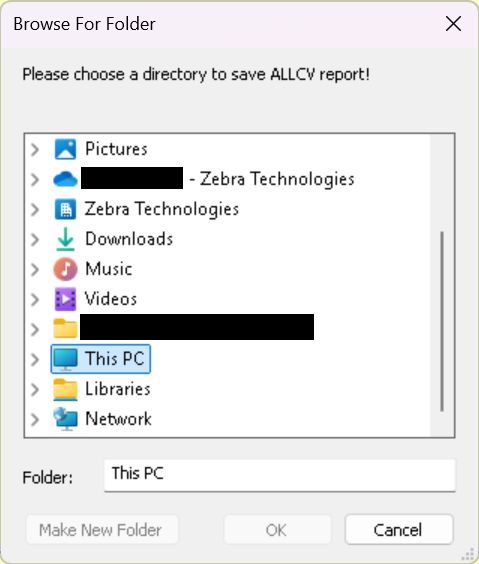
- You will be prompted to save the file on Windows Explorer.
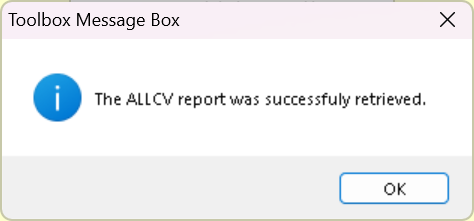
- At the end, Toolbox will advise where the file has been saved.