 |
NOTE Zebra Support Community Site has been updated to replace obsolete industry terms with modern terminology. This article uses the term Central instead of Master, and Peripheral instead of Slave.
|
Cause or Overview
Zebra Bluetooth-enabled printers are 'secondary' devices only. The printers will pair with any 'primary' device that tries to make a valid connection. Only a primary device can initiate a connection, therefore the printer does not store pairing data. (that function is always done on the primary device). The printer can only be connected to one primary device at a time, but any number of primary devices that have stored pairing information for the printer would be able to initiate a connection to the printer without having to rediscover it. The steps below will allow for the pairing of a Bluetooth-enabled Zebra printer to a Windows 7 PC.
Solution
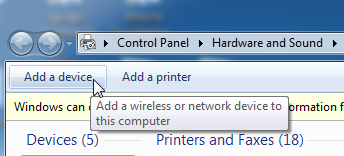
1. Add a Device using the Windows "Add a Device" wizard within Devices and printers. If the device is not being discovered, first ensure you have a Bluetooth-enabled printer and then use Zebra Setup Utilities to enable discoverability for the unit. Read More>>
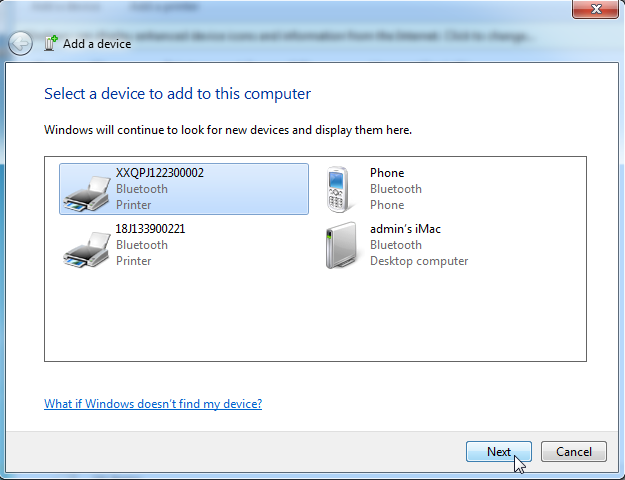
2. Select the Bluetooth device from the list of discovered devices. Mobile printers (QLn, QLPlus, RW, MZ, etc.) will typically display using their serial number. If a friendly name was assigned to the unit using Zebra Setup Utilities, then that friendly name should be discovered.
3. If a Bluetooth pin is set, you will be prompted to enter in the pin to complete the pairing process to the Windows 7 PC. If no pin is set, it should pair without any prompt. The QLn model printers will ask you to compare the pairing codes between the Add a Device wizard and the display on the printer. Click yes within the wizard if the codes match and Accept on the printer.

4. If the pairing is successful you should receive a dialog box notifying you of this.

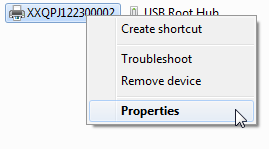
5. The next step is to find the COM port that Windows has assigned to the Bluetooth device. You can do this by finding the device within your Devices and Printers (it will be listed by serial number or friendly name) and right-click it to access the Properties.

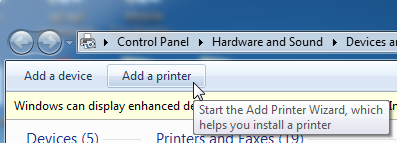
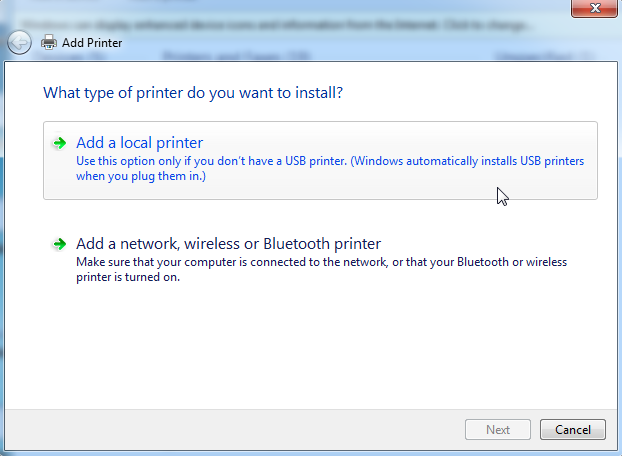
6. The next step is to install a new printer using the "Add a Printer" wizard within Devices and Printers. Make sure to select "Add a local printer".
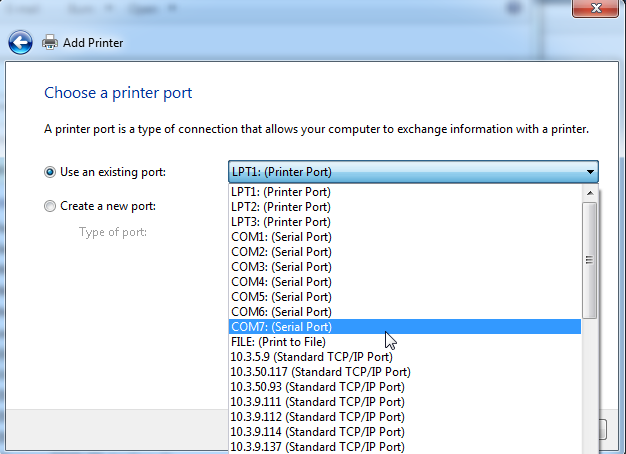
7. Select the COM port that was assigned to the device.
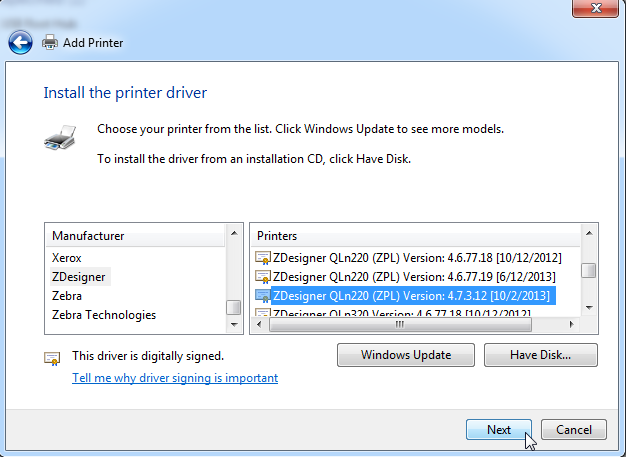
8. Select the appropriate driver for the device being used. Select ZDesigner as the Manufacturer and the appropriate printer model under Printers.
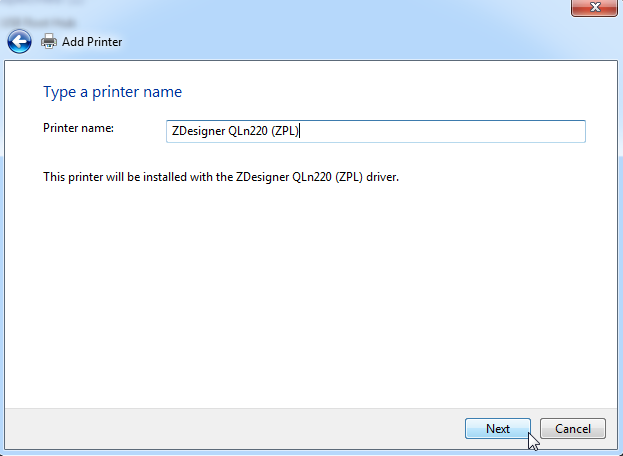
9. If a name needs to be given to the device, you can add it before completing the wizard.
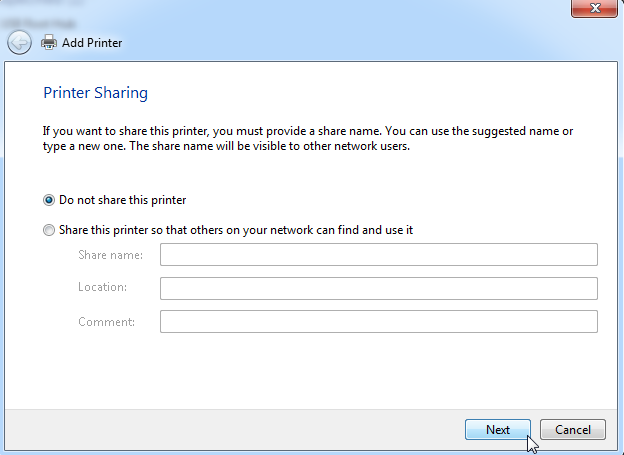
10. The next dialog will display your sharing options. Zebra does not support sharing as it is a Windows function, but you can set up a share here if needed. If not, click next to continue the wizard.
11.Lastly, you can test your Bluetooth communication to the device by printing a test page. If this prints, you should be capable of using the driver that you have set up to print from the necessary applications.
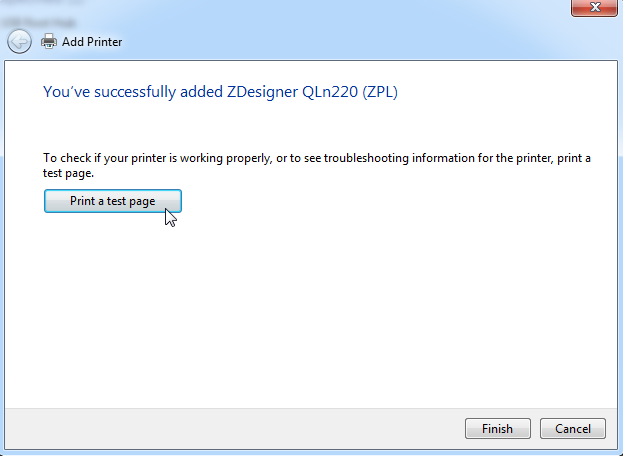
If the test page prints (or you receive some response from the printer), then communication has been established. At that point, you will need to configure your driver and application and begin printing. Read More>>
.png)
Helpful Information:

