 |
End Of Service Life (EOSL) Zebra will no longer provide services or support for iMZ220 and iMZ320 Mobile Printers. This knowledge article is for your reference only and is no longer proactively updated. For more details, refer to Discontinued Printers. If you are interested to upgrade your products, Contact Zebra.
|
|
NOTE Zebra Support Community Site has been updated to replace obsolete industry terms with modern terminology. This article uses the term Central instead of Master, and Peripheral instead of Slave.
|
Requirements
If needed, refer to Configure Bluetooth Setup Using the Zebra Setup Utility for basic knowledge of Windows 8 as well as Zebra Setup Utilities to configure a pin and friendly name for the printer.
| NOTE Link-OS printers do not require a pin to be set before pairing as they will generate a pin upon the central device's attempt to pair with the unit which then needs to be verified on each device. Link-OS printers include, but are not limited to QLn Series Mobile Printers and iMZ Series Mobile Printers. For more information, refer to Windows 7 Bluetooth Setup for Zebra Printers. |
Overview
The steps below should allow for a Bluetooth connection to be made between a Windows 8 PC and a Zebra Bluetooth-enabled printer.
Procedure:
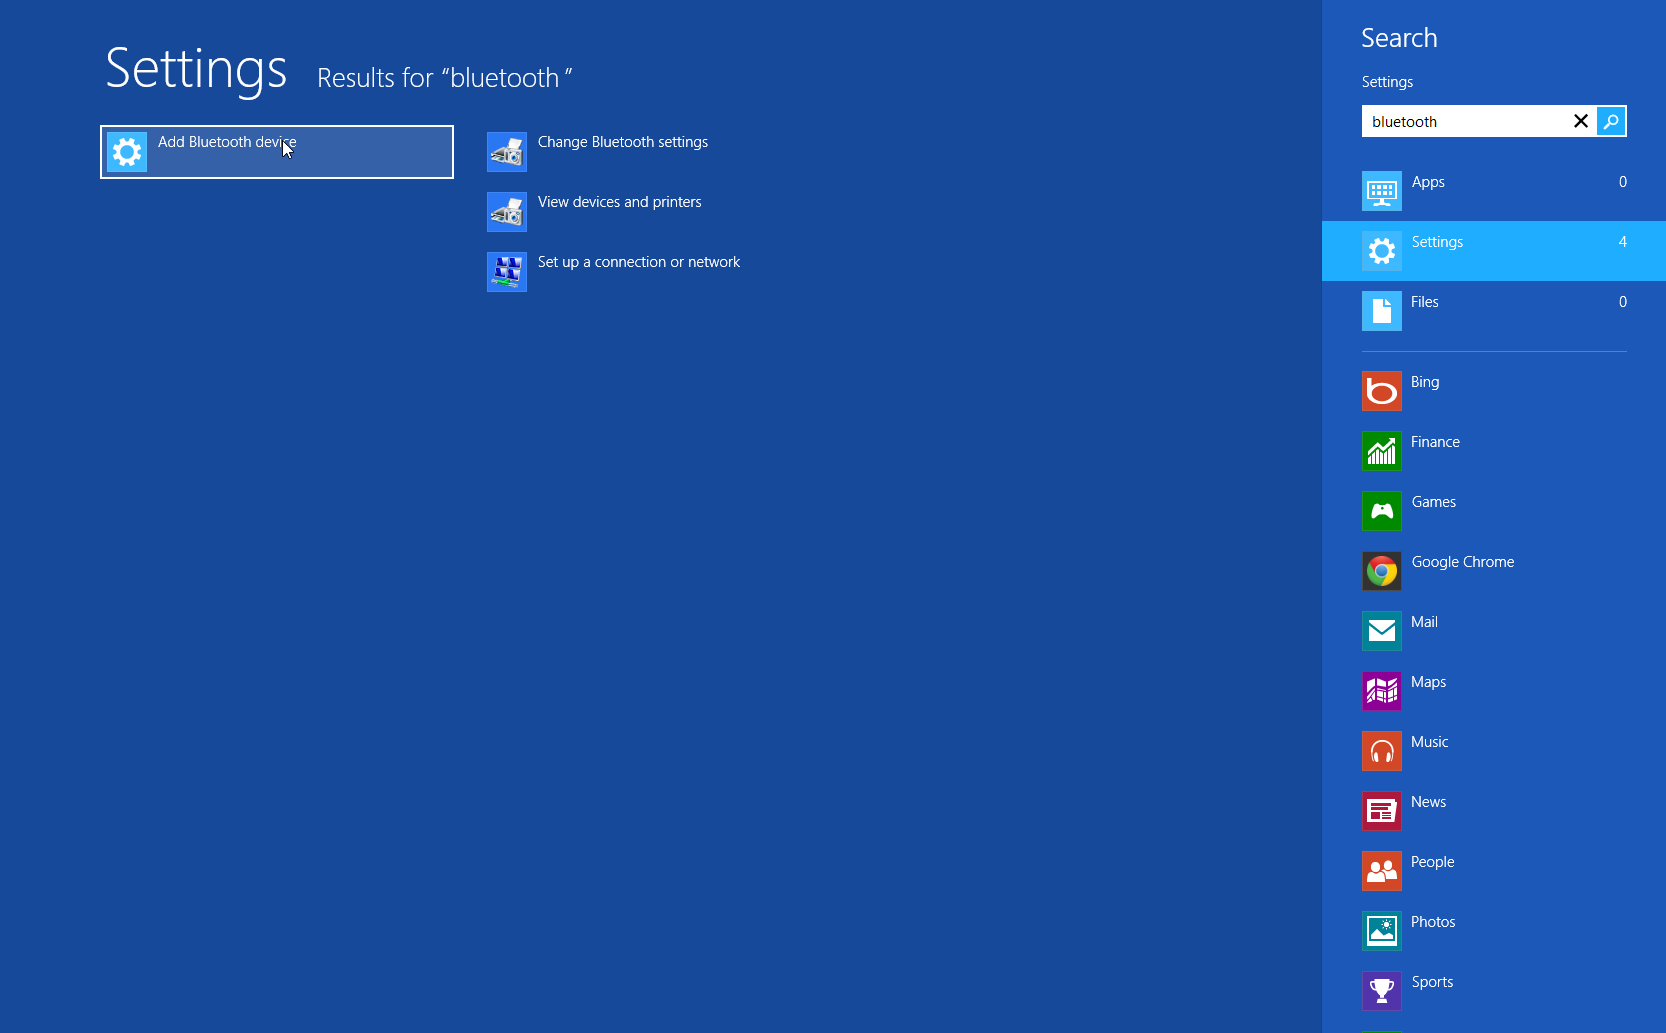
- From the Start Screen, bring your mouse to the lower right dash ( - ) of the monitor so that your Start Toolbar is displayed. Click on Search and search for Bluetooth.

- After searching for Bluetooth, click on Settings in the search to have your Bluetooth Settings displayed. Click on Add Bluetooth device.
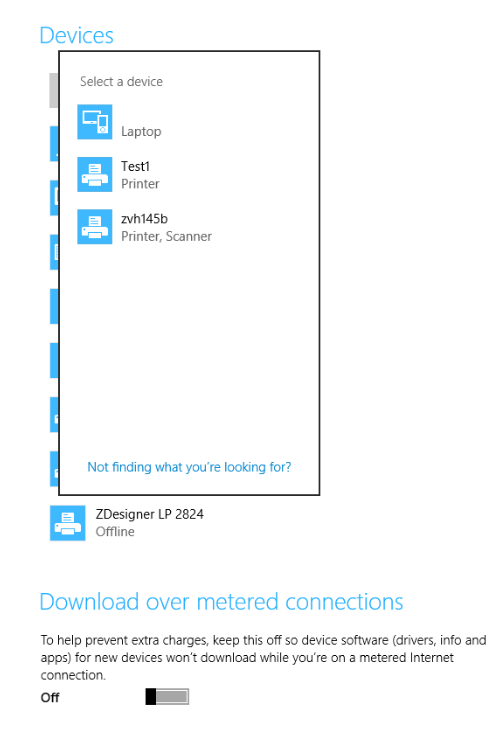
- The PC should automatically scan for discoverable devices (including the printer) and should display the printer by friendly name (if configured with Zebra Setup Utilities) or serial number. For this example, we named our printer Test1.
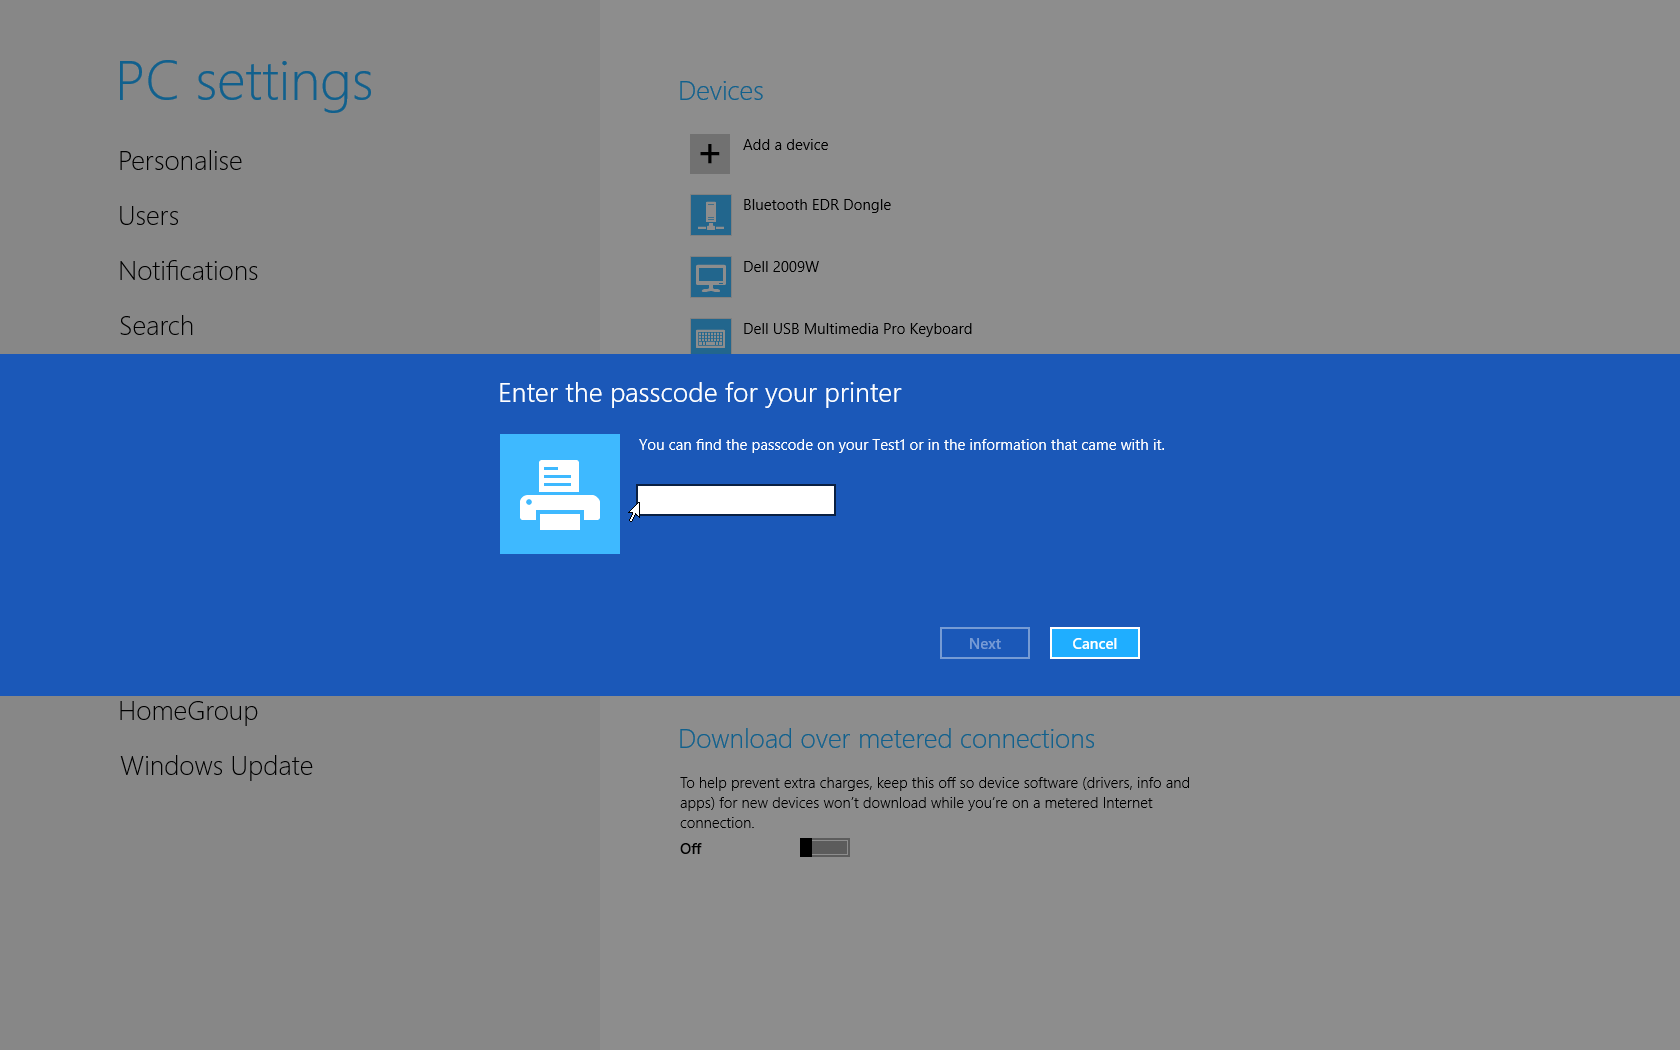
- After selecting your printer, you will be requested to enter the passcode for your printer (pin number). This would have had to be set using the Zebra Setup Utility.
- At this point, your printer should be paired with the PC. The next step is to download and install the appropriate driver for the printer being used. You can find the most current driver of your printer on Zebra.com under that printer's support page. After the driver is installed, you will have to find out what COM port Windows installed the Bluetooth printer on by accessing the Bluetooth settings through your search tool again.
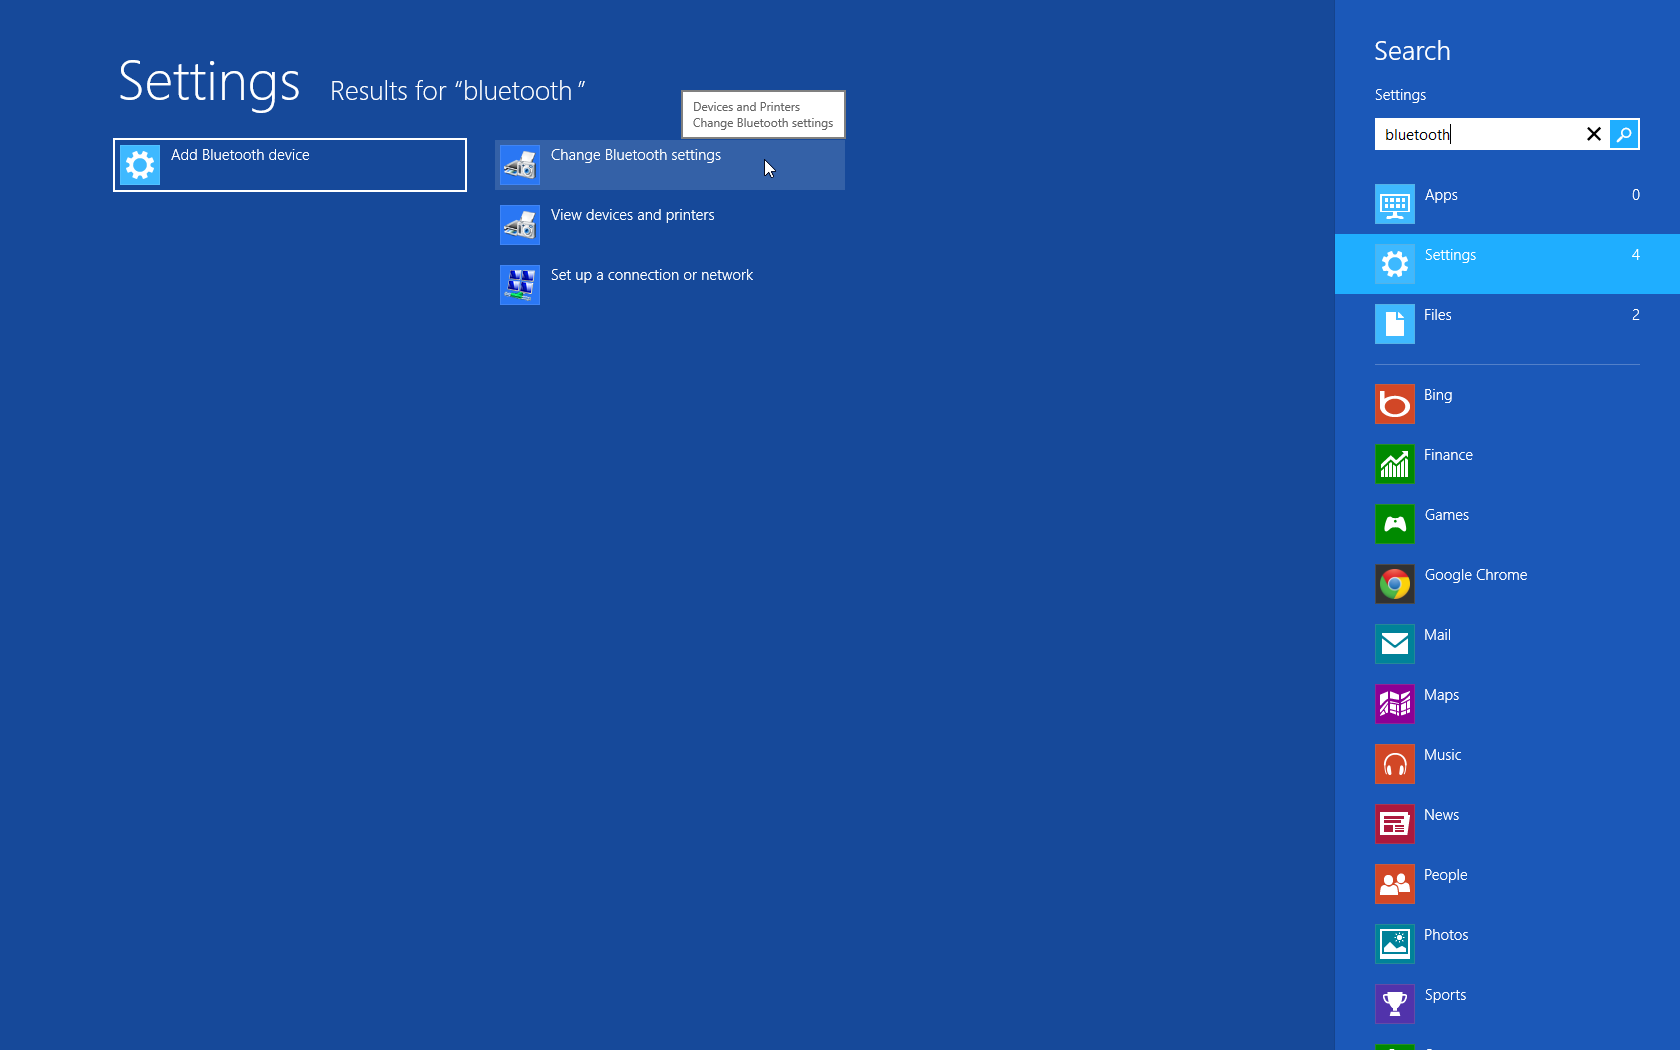
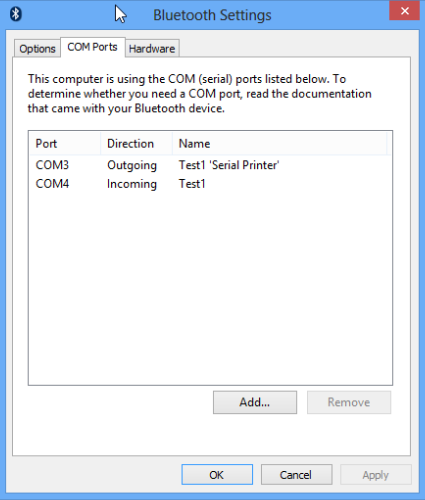
- Once in the Bluetooth Settings, click on the COM Ports tab. If multiple ports are specified for the device, make sure to make note of the outgoing port associated with your device.
- At this point, you will have to access your Devices and Printers through Control Panel so we can get into the printer driver and set it to use the appropriate COM port. Once in Devices and Printers, right-click the printer and select Printer Properties. Once in Printer Properties, click on the Ports tab and check the appropriate COM port that we found using through the Bluetooth Settings step above.
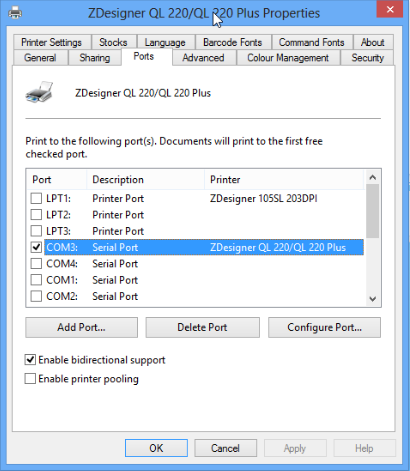
- Once the port is checked, click Apply. You can then go back under the General Tab and click on Print Test Page to verify communication with your device.
Helpful Information:

