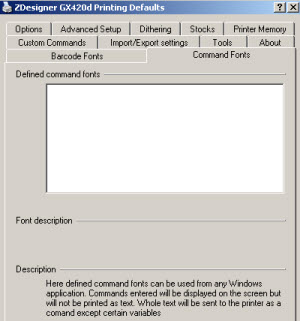
Refer to the descriptions for the various tabs in Printing Preferences and Printing Defaults of the ZDesigner Driver:
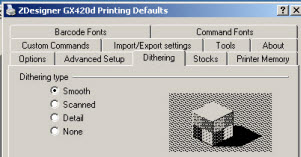
Tab 1: Dithering
The graphics print best when a monochrome image is used.
As Zebra printers are monochrome printers, the colour and grayscale images will be printed using the dithering method you select on the Options tab.
There are four available dithering methods, each method provides some control over the final printed image.
However, monochrome images will print in a more predictable fashion.
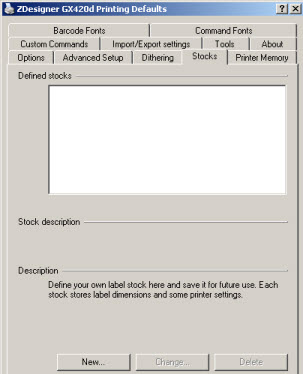
Tab 2: Stocks
From the Stocks tab, you can create custom labels sizes to use in the driver.
For more information, refer to Creating a new Stock Type.
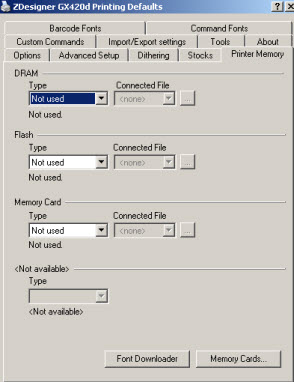
Tab 3: Printer Memory
You can set the driver up for use with downloaded fonts and graphics in the printer.
For more information, refer to the Zebra Setup Utilities: Downloading Fonts to a Printer article.
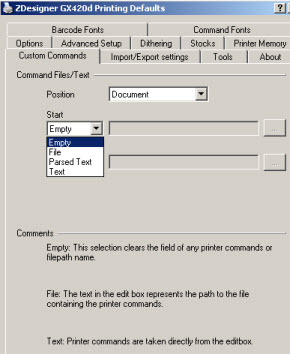
Tab 4: Custom Commands
Use this feature to send printer commands (i.e., ZPL, EPL, CPCL, or SGD) to the printer each time you print from the selected driver.
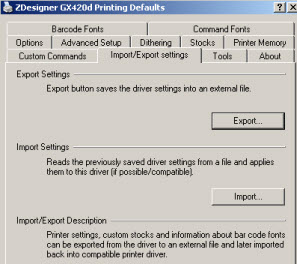
Tab 5: Import/Export Settings
Use this tab to back up your driver settings or import the files with your saved settings.
For more information, refer to Export ZebraDesigner driver settings file.
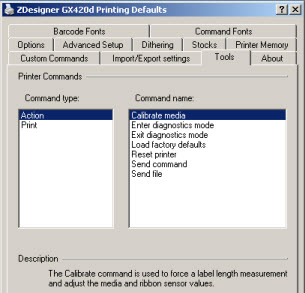
Tab 6: Tools
Here you can perform the Command type listed under Action.
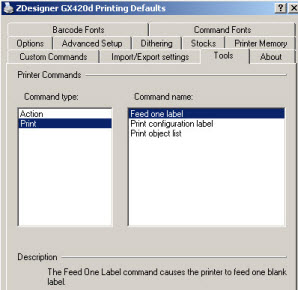
Here you can perform the Command type listed under Print.
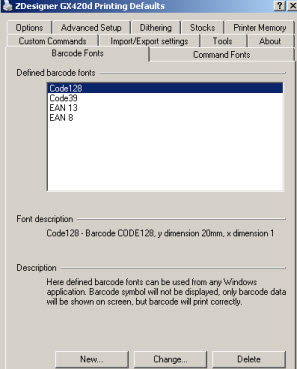
Tab 7: Barcode Fonts
The driver supports 4 common barcodes by default.
- Code128
- Code 39
- EAN 8
- EAN 13
Additional barcodes can also be added using this feature.
For more information, refer to Adding or Changing Barcodes with the ZDesigner Driver.
Tab 8: Command Fonts
This allows you to send print code directly to the printer from a document or a ZebraDesigner file.
For more information, refer to ZDesigner Driver Command Font Pass-through.
