The Zebra Setup Utilities (ZSU) can be used to configure the settings of your label printer.
The Zebra Setup Utilities do not support card printers.
 | IMPORTANT! Before installation, be sure that your printer is still supported. Find the support pages of your printer to see if there is a Service and Support Discontinuation Date. |
Find your printer's support pages by visiting Support and Downloads: Printers Support.
- Insert your printer model into the search bar.
- You can see the list, where you can find support pages for your printer.
 | NOTE: Download and install Zebra Setup Utilities (ZSU) on a supported Windows PC.
The options available on each screen may vary depending on the printer model. |
Procedure:
- Launch the Zebra Setup Utilities.
- Select your printer and click Configure Printer Settings.
- Set the Label Size and Orientation in the Label Parameters window.
Units: cm, mm, inches.
Width: The width of the label using the
Units selected above.
| NOTE An error will occur if you exceed the maximum width allowed by the printer model you are configuring. |
Height: The length of the label you are using.
| NOTE For ZPL Printers, the length of non-continuous media (gap, notch, hole, or black mark) is internally set when the printer is calibrated. Use of Continuous Media may use this value, but the label length is often included in the format. |
- Click Next. Select the required Speed and Darkness.
Speed: The media and ribbon (if used) should match the speed you use in your printing application.
For optimal quality prints or when using a specific type of ribbon (resin), slower speeds are advised.
Darkness: There may be limits to the darkness you can set, especially when using ribbons. Wax ribbons use lower values, while resin ribbons and polyester labels use higher ranges. If your ribbon is tearing or distorting, your darkness setting is too high.
- Click Next.
- From the Media window, perform the following steps:
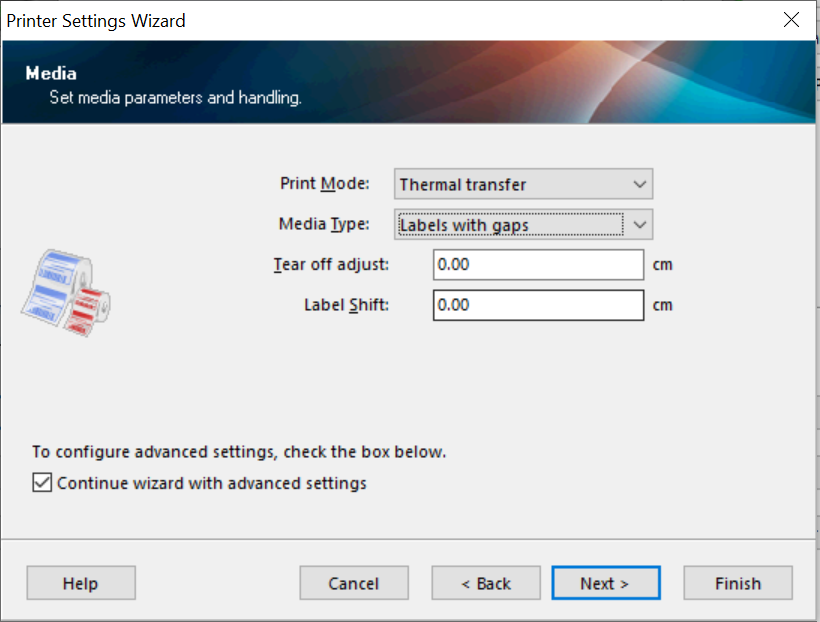
- Set Print Mode as Thermal transfer or Direct thermal.
Print Mode: Select the media you use in the application.
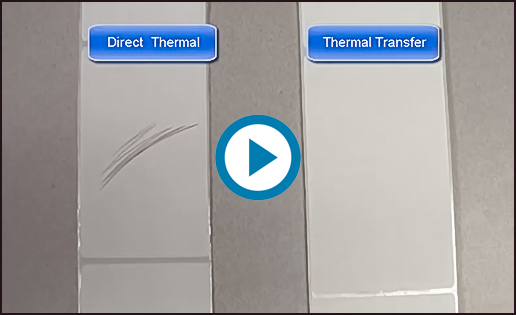
Thermal Transfer: Using ribbon.
Direct Thermal: Not using ribbon. The media has a heat-sensitive coating that darkens when heated.
This video demonstrates how to differentiate between Thermal Transfer and Direct Thermal:
- Set Media Type as Labels with gaps (web sensing), Continuous, or Labels with black marks (mark sensing).
Media Type: The selections are based on the printer media sensing options.
Web sensing: Used for media with inter-label gaps, notches, or holes.
Continuous: Media that does not have a top-of-form indicator. The printer is told to print a specific length on the labels without the automatic top-of-form correction.
Mark sensing: Used for media with a black mark on the back of the liner or labels.
- Tear-off adjust: Modifies the resting position of the label to fine-tune the tear, cut, or peel resting position.
- Label Shift: Alters the horizontal position of all the printed fields. This is used to compensate for the horizontal position slightly if a single format is sent to multiple printers. If you only use one printer, adjust your label format field positions and leave this value at zero (0).
- The following settings are not commonly used; you can skip them. (Advanced settings, Real-time clock, Front panel protection and Sensor settings). Refer to the article Zebra Setup Utilities: Advanced Settings.
- On the last screen, you can Save settings to a File by selecting the checkbox. You can use these settings later.
- Click Finish to send the changes made to the selected printer.
Helpful Information:

