Zebra Setup Utilities: Install a USB driver
|

|
NOTE Always install Zebra Setup Utilities first, and after the installation, connect the USB cable from the printer to your PC.
|
Procedure:
A. Zebra Setup Utilities: Self-install USB driver
- Download and install the latest version of Zebra Setup Utilities.
- Connect the USB cable from the printer directly to the PC.
- Your printer will display in the Zebra Setup utilities window, in this case it is self-installed.
- Continue to set label size and printer setting.
B. Zebra Setup Utilities: Install USB driver (Manual install)
- Download and install the latest version of Zebra Setup Utilities.
- Connect the USB cable from the printer directly to the PC.
- If your printer will not appear in the window, is unrecognized, then continue with manual install
-
Go to Control Panel > Devices and Printers. The computer should list the printer under Unspecified.
-
Right-click and select Properties, find the port location (example: port_#0001.hub_#0001).
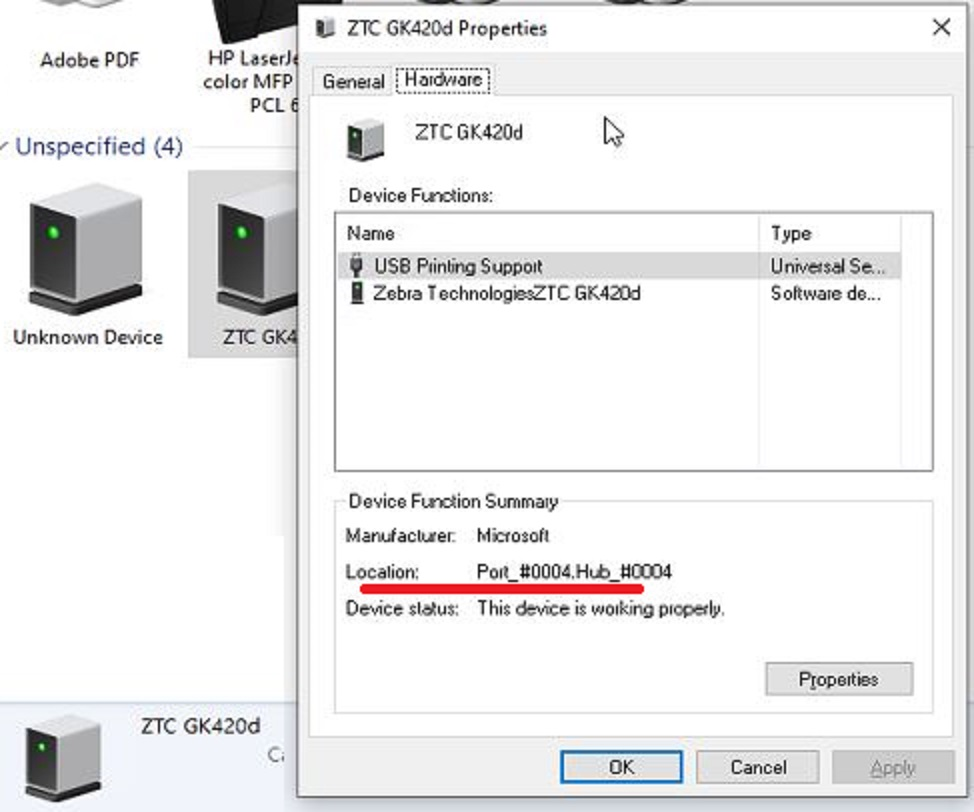
-
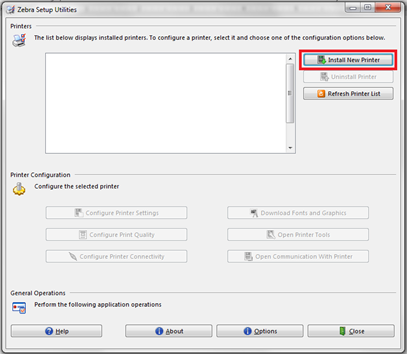
Launch Zebra Setup Utilities and click Install New Printer.
-
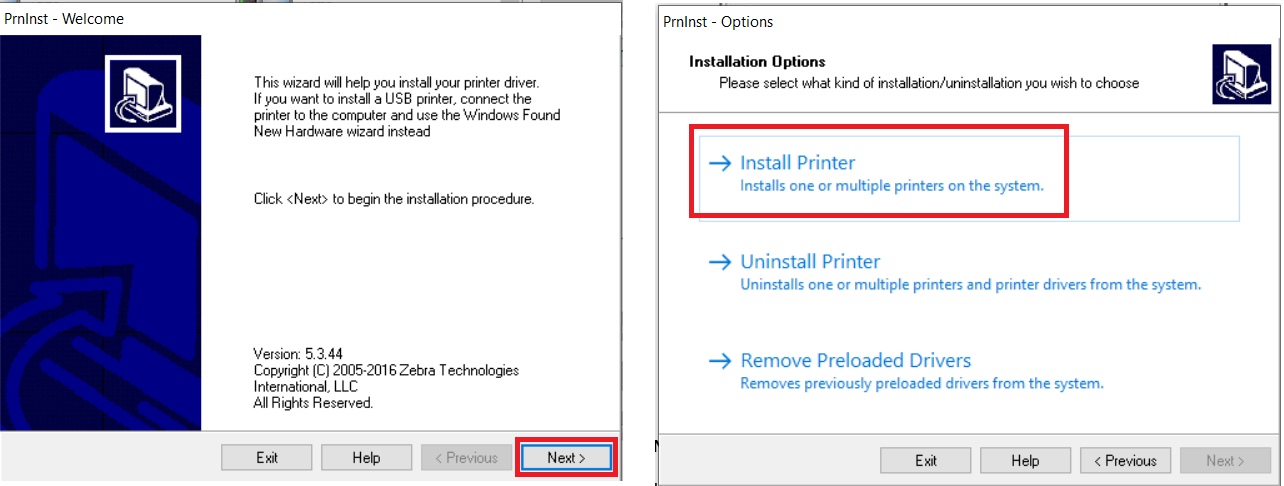
Click Next, then click Install Printer.
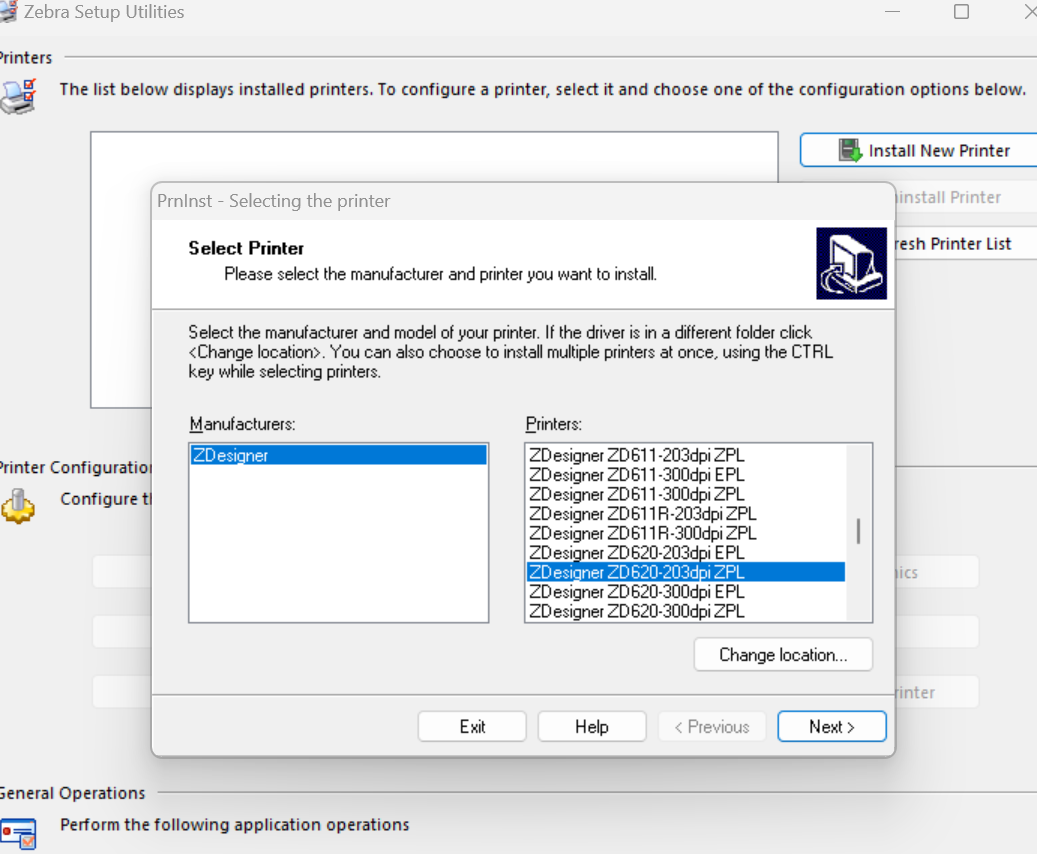
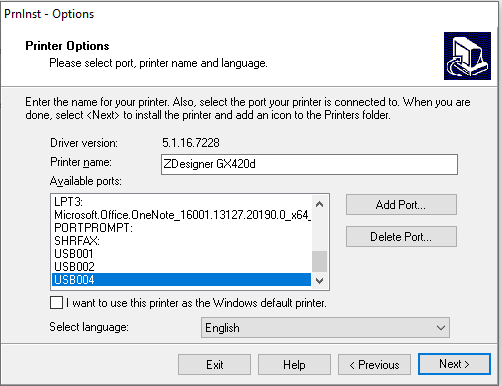
- Select the printer according to the printhead resolution (dpi 203, 300, or 600) and language (EPL, ZPL, or CPCL). Click Next.
|
|
NOTE Current language used is ZPL but select according to the software used.
|
-
Select port USB00# as described in step 3 above. Click Next.
-
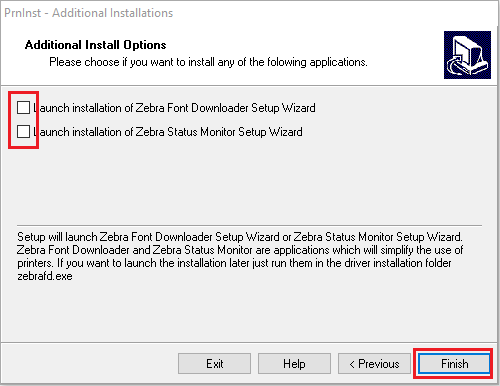
Uncheck both options for Launch installation for Zebra Font Downloader and Zebra Status Monitor. Click Finish.
- Your printer is installed.
-
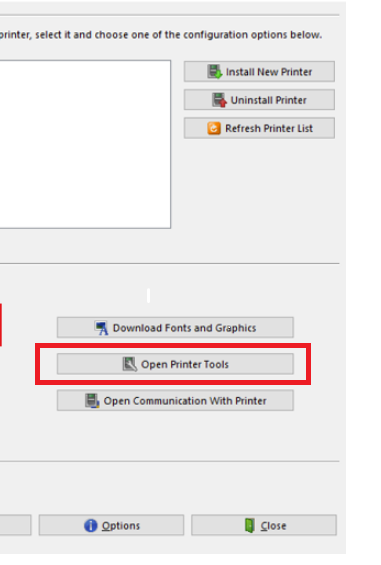
Quick connectivity check: To select if the printer responds, click the Open Printer Tools tab in Zebra Setup Utilities > select Print > Feed one label. If the printer feeds a label, the installation is successful.
Scroll down to set label size and printer setting.
C. Install the Network driver with an IP address (wired or wireless).
 | IMPORTANT!
|
Procedure:
- Perform steps 1,2, 3, 4, 5 and 6 in "Install USB driver" above.
- When you reach the Printer Options tab, click Add Port.
- Enter the printer’s IP address in the first and the second field as shown.
- Click OK.
- The printer will appear in Available ports. Select it and click Next.
- Uncheck both options for Launch installation for Zebra Font Downloader and Zebra Status Monitor.
- Click Finish.
Set label size and printer settingAccording to your driver version (version 8 or version 5), refer to one of the articles below for detailed instructions.
Test a print job with USB or network
- Click the Open Printer Tools tab in Zebra Setup Utilities.
- Under Print, select Print configuration label, then click Send. The printer should print out the printer configuration.
If the printer can print the printer configuration clearly (it may ignore the print position on the left), you have successfully set it up on your computer.
Helpful Information:

